
Microsoft Outlook is the backbone of professional communication, but it is not immune to technical glitches. One of the most frustrating issues users face is a corrupted Offline Storage Table (.OST) file. When this file fails, Outlook may freeze, the synchronization progress bar might hang indefinitely, or you might notice that your local folders contain fewer items than what you see on Outlook on the web. To resolve these performance hurdles, the most effective solution is to rebuild corrupted outlook ost file caches, ensuring a clean slate for your data synchronization.
While Microsoft’s official documentation often suggests simply deleting the damaged file, this guide takes a safety-first approach. By renaming the file instead of deleting it and performing a strategic backup of local-only data, you can restore Outlook’s functionality without losing drafts, outbox messages, or calendar updates that haven’t yet reached the server.
What is an .OST File and Why Does It Get Corrupted?
An .OST file is essentially a local mirror of your mailbox stored on an Exchange, Microsoft 365, or IMAP server. It acts as a cache, allowing you to read, write, and organize emails even when you are offline. Once you reconnect to the internet, Outlook synchronizes the changes made in the .OST file with the master copy on the server.
Because it is a cache and not the master database, it is technically safe to rebuild. However, corruption can occur due to sudden power outages, improper shutdowns of the Outlook application (killing the process mid-write), or underlying disk errors. When corruption takes root, the synchronization link between your PC and the server breaks, leading to the symptoms mentioned earlier.
Compatibility: Classic vs. New Outlook
Before proceeding, it is vital to identify which version of Outlook you are using. This guide is specifically designed for Classic Outlook (versions such as Microsoft 365, Outlook 2024, 2021, 2019, and 2016). You can identify Classic Outlook by the presence of a “File” menu in the top-left corner. If you do not see a File menu and instead see a simplified interface, you are likely using the “New Outlook for Windows,” which handles data files differently and does not follow the same user-managed path for .OST maintenance.
The Golden Rule: Back Up Unsynced Items First
The biggest risk when you rebuild corrupted outlook ost file data is the loss of items that exist only on your local machine. If a draft was written while the sync was broken, or a calendar appointment was made offline, that data is trapped in the corrupted .OST and has not reached the server. Rebuilding the file will fetch everything from the server, but it cannot fetch what the server never received.
Step 1: Exporting Local Data to a .PST File
If Outlook is still functional enough to open, follow these steps to secure your local-only items:
- Check the Outbox: If messages are stuck, try to send them one last time. If they remain stuck, drag them into the Drafts folder so they are included in the backup.
- Start the Export: Go to File > Open & Export > Import/Export.
- Choose Action: Select Export to a file and click Next.
- Select Format: Choose Outlook Data File (.pst) and click Next.
- Select Folders: Select the Drafts folder. Ensure “Include subfolders” is checked. Repeat this process separately for Calendar and Contacts if you have made recent offline changes.
- Save Location: Click Browse and save the backup file (e.g.,
Drafts-backup.pst) in an easy-to-find location like your Documents folder or a USB drive. - Verify: Go to File > Open & Export > Open Outlook Data File and spot-check the backup to ensure your important drafts are actually inside.
Warning: Be aware of the “Cached Exchange Mode” limit. By default, Outlook may only cache the last 12 months of email. If you export “everything,” you are only exporting what is currently in the local cache. Items older than the cache window remain safe on the server but will not be part of this specific backup file.
Step-by-Step: How to Rebuild Corrupted Outlook OST File Safely
Once your backups are secure, you can begin the technical process of resetting the cache. This involves identifying the file, closing the application completely, and renaming the file to trigger a fresh download.
Step 2: Locate the Active .OST File
Do not guess which file to rename, as Outlook may have multiple .OST files if you have configured several accounts.
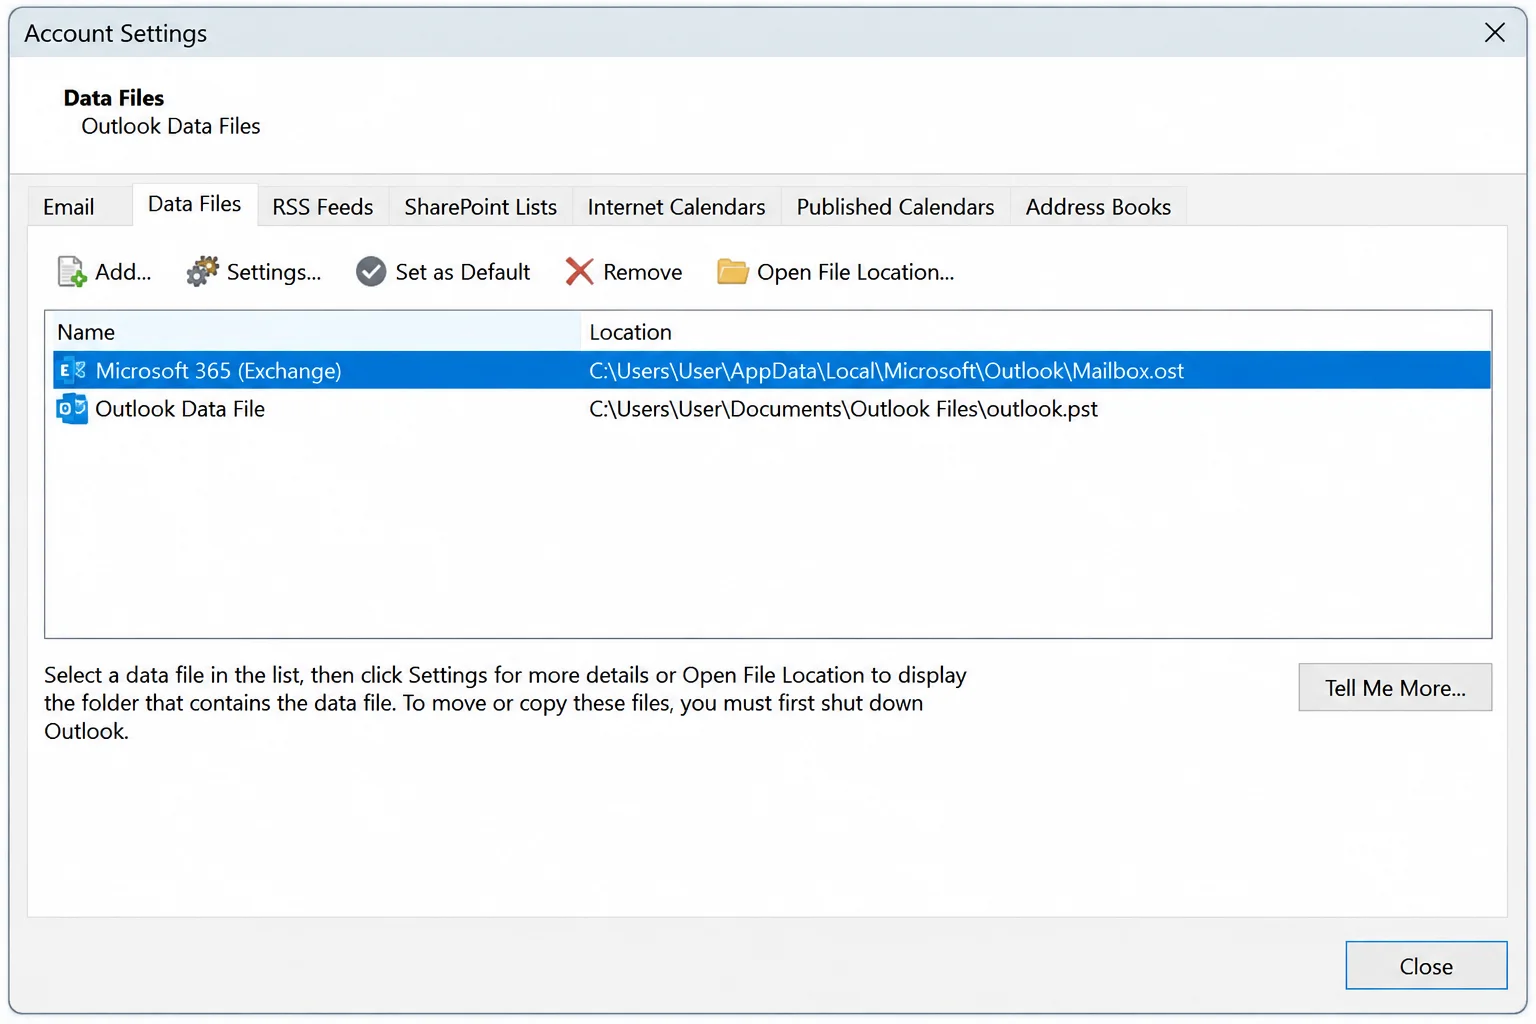
- In Outlook, navigate to File > Account Settings > Account Settings.
- Click on the Data Files tab.
- Select the account experiencing issues. Look at the Location column to see the full file path.
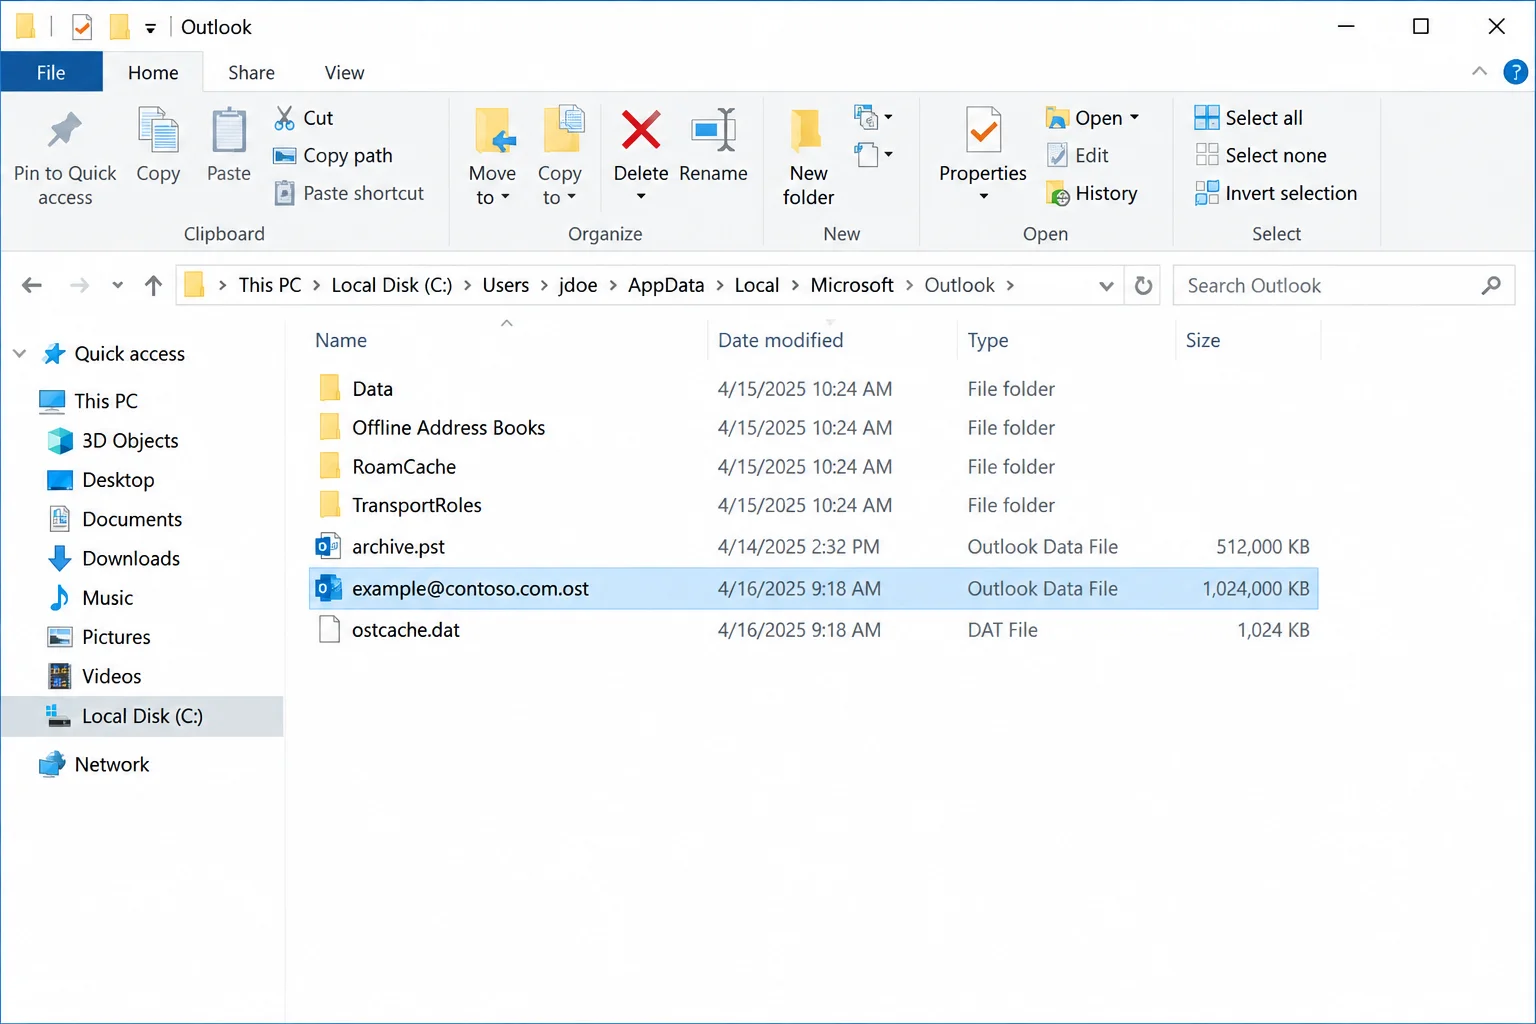
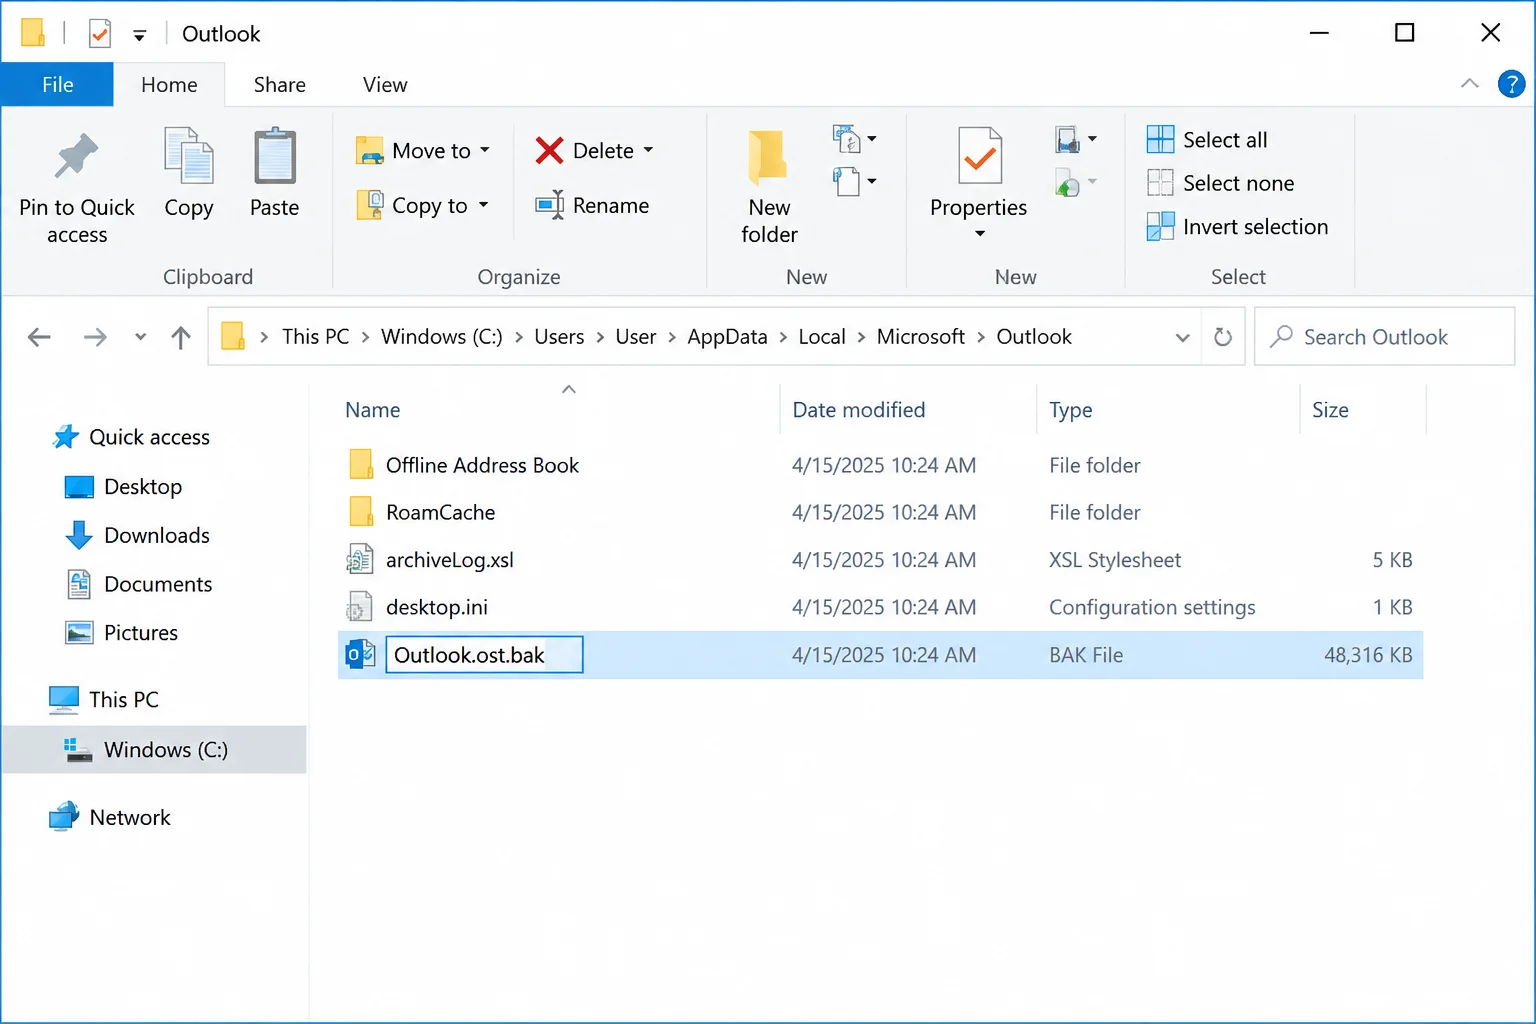
- Click Open File Location. This will open Windows File Explorer directly to the folder containing your .OST.
- Close the Account Settings dialog but keep the File Explorer window open.
Step 3: Enable File Name Extensions
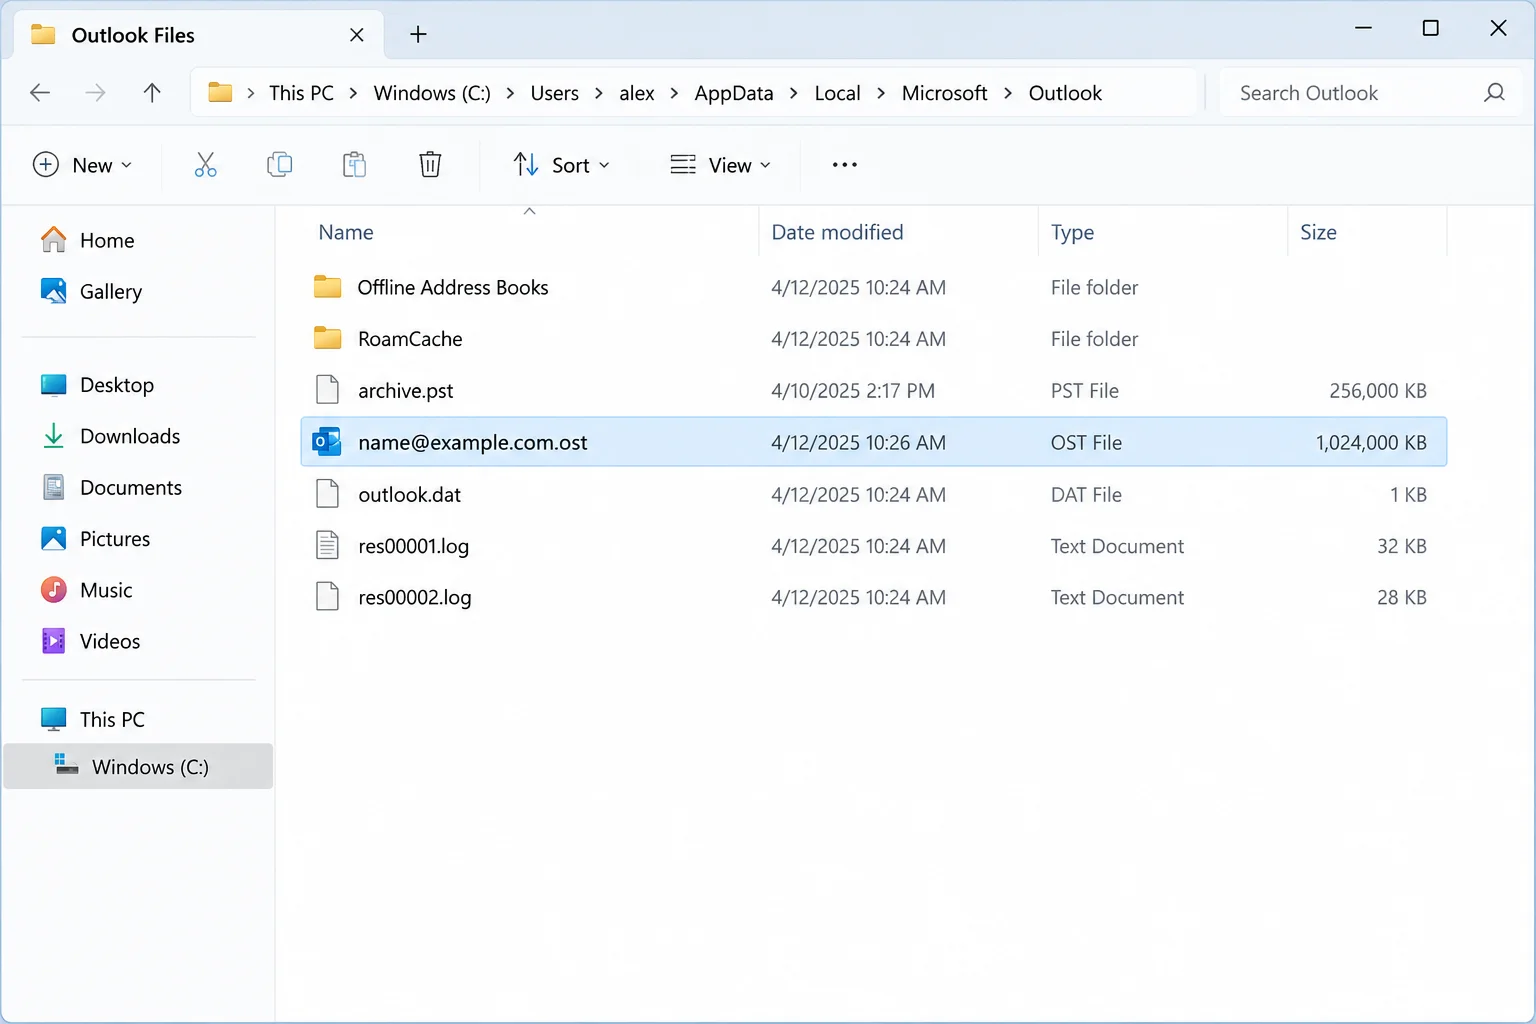
To rename the file correctly, you must be able to see the .ost extension. Windows often hides these by default.
| Windows Version | Action Required |
|---|---|
| Windows 11 | In File Explorer, click View > Show > File name extensions. |
| Windows 10 | Click the View tab on the ribbon and check the box for File name extensions. |
Step 4: Fully Terminate Outlook
Outlook often runs background processes even after you close the main window. If the file is “in use,” you cannot rename it.
- Click File > Exit in Outlook.
- Wait 30 seconds.
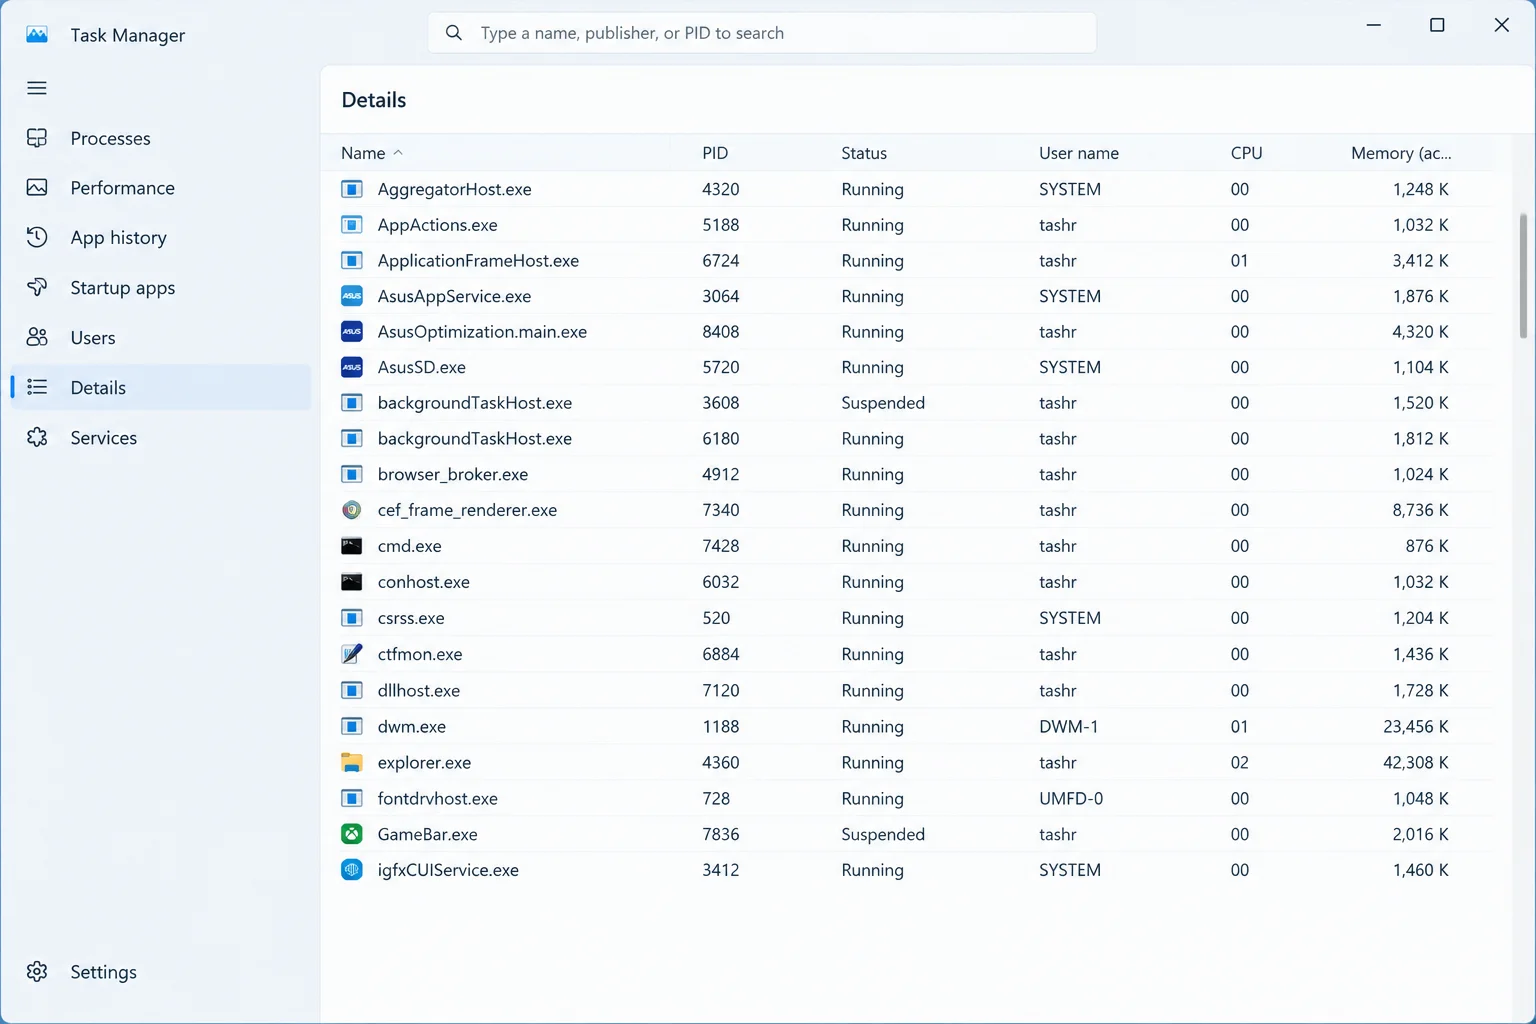
- Press Ctrl + Shift + Esc to open Task Manager.
- Look for “Microsoft Outlook” in the Processes tab. For a more thorough check, go to the Details tab and look for
OUTLOOK.EXE. - If it is still running, select it and click End task.
Step 5: Rename the File to .bak
Instead of deleting the file as Microsoft suggests, we will rename it. This provides an “undo” button if you realize you missed a backup step.
- In the File Explorer window from Step 2, right-click your .OST file (e.g.,
user@example.com.ost). - Select Rename and add
.bakto the end. The new name should beuser@example.com.ost.bak. - If Windows displays a warning about the file becoming unusable, click Yes.
Relaunching and Verifying the Sync
Now that the old, corrupted file is “hidden” from Outlook, the application will be forced to create a new one.
Step 6: Trigger the Fresh Resync
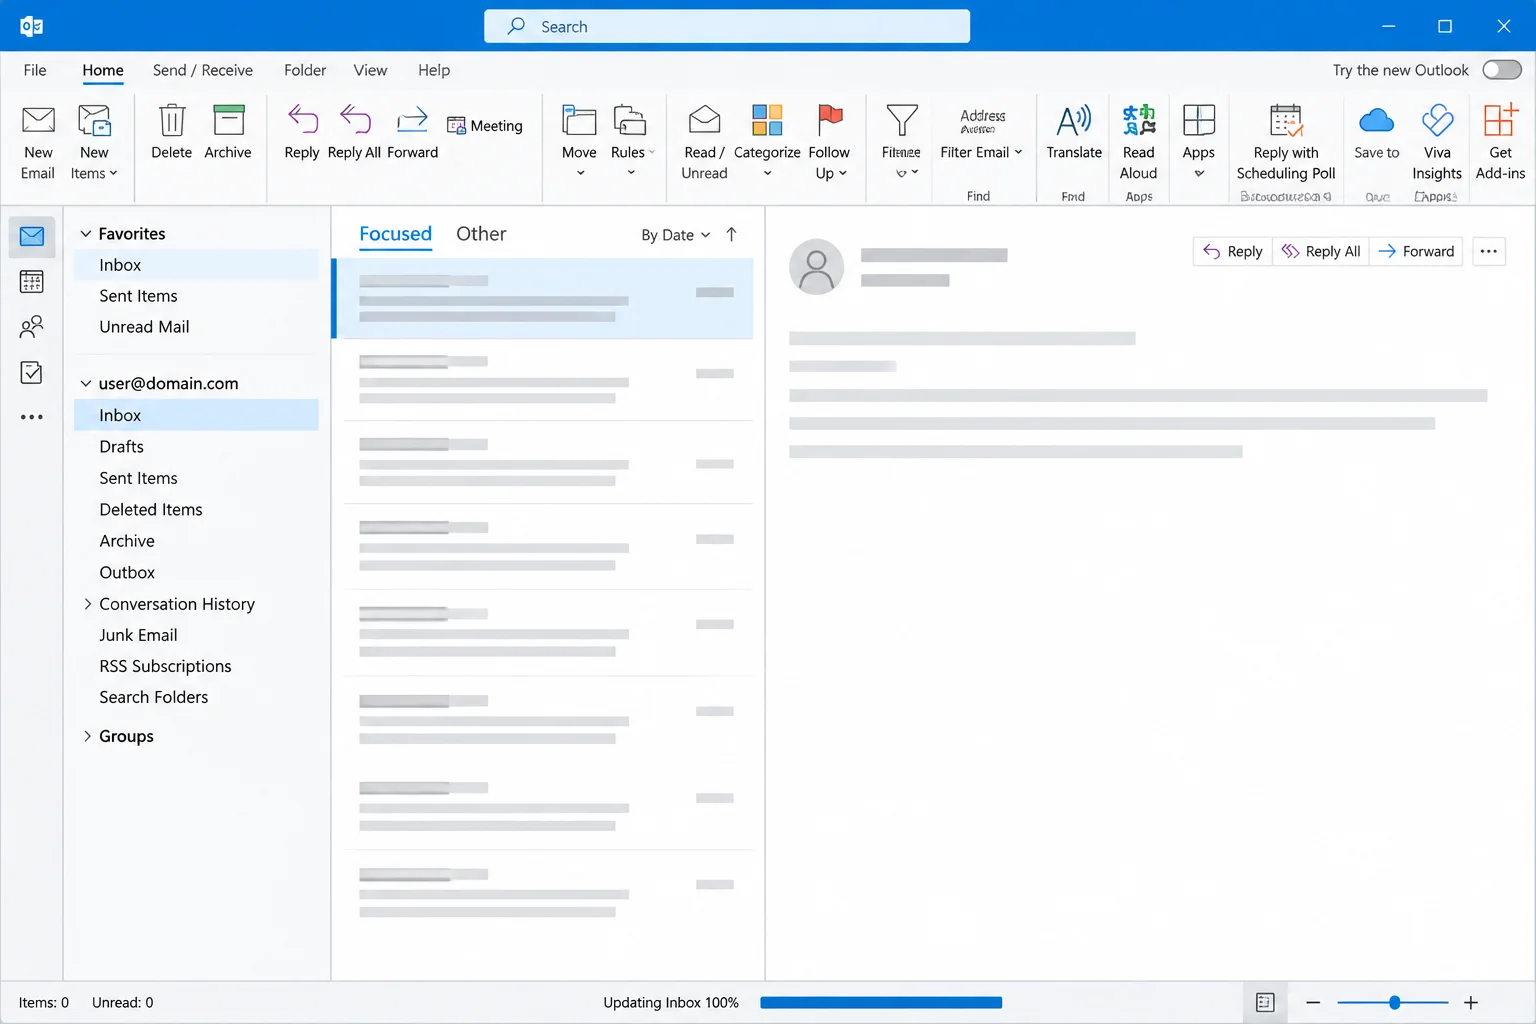
Open Outlook normally. You will notice a message in the status bar at the bottom saying “Preparing for first use” or “Updating folder.” Outlook is now downloading a fresh, uncorrupted copy of your mailbox from the server. Depending on the size of your mailbox and your internet speed, this could take anywhere from a few minutes to several hours. For large mailboxes, using a wired Ethernet connection is recommended over Wi-Fi.
Step 7: Restore Your Drafts
Once the status bar says “All folders are up to date,” verify the rebuild by comparing your folder item counts with Outlook on the web. Then, bring back your local data:
- Go to File > Open & Export > Open Outlook Data File.
- Select your
Drafts-backup.pst. It will appear as a new set of folders in your left-hand navigation pane. - Drag the missing drafts from the backup folder into your active mailbox Drafts folder.
- Once finished, right-click the backup data file in the navigation pane and select Close.
Troubleshooting Common Rebuild Failures
Sometimes, the process to rebuild corrupted outlook ost file caches encounters hurdles. Here are solutions to common errors:
- “File in use” Error: This usually means a background process or a third-party add-in is still accessing the file. Restart your computer and attempt the rename immediately after logging back in, before opening Outlook.
- Missing .OST Extension: If you don’t see the extension even after following Step 3, go to View > Options > View tab in File Explorer and uncheck “Hide extensions for known file types.”
- Folders Still Don’t Match: Check your Cached Exchange Mode settings. If the slider is set to “1 year,” Outlook will not download mail older than that, even if the rebuild was successful.
Alternative Fixes: When an .OST Rebuild Is Not Enough
If you rebuild corrupted outlook ost file data and the application still crashes or corrupts the new file, the issue may lie within the Office installation itself or the user profile.
Running Office Repair
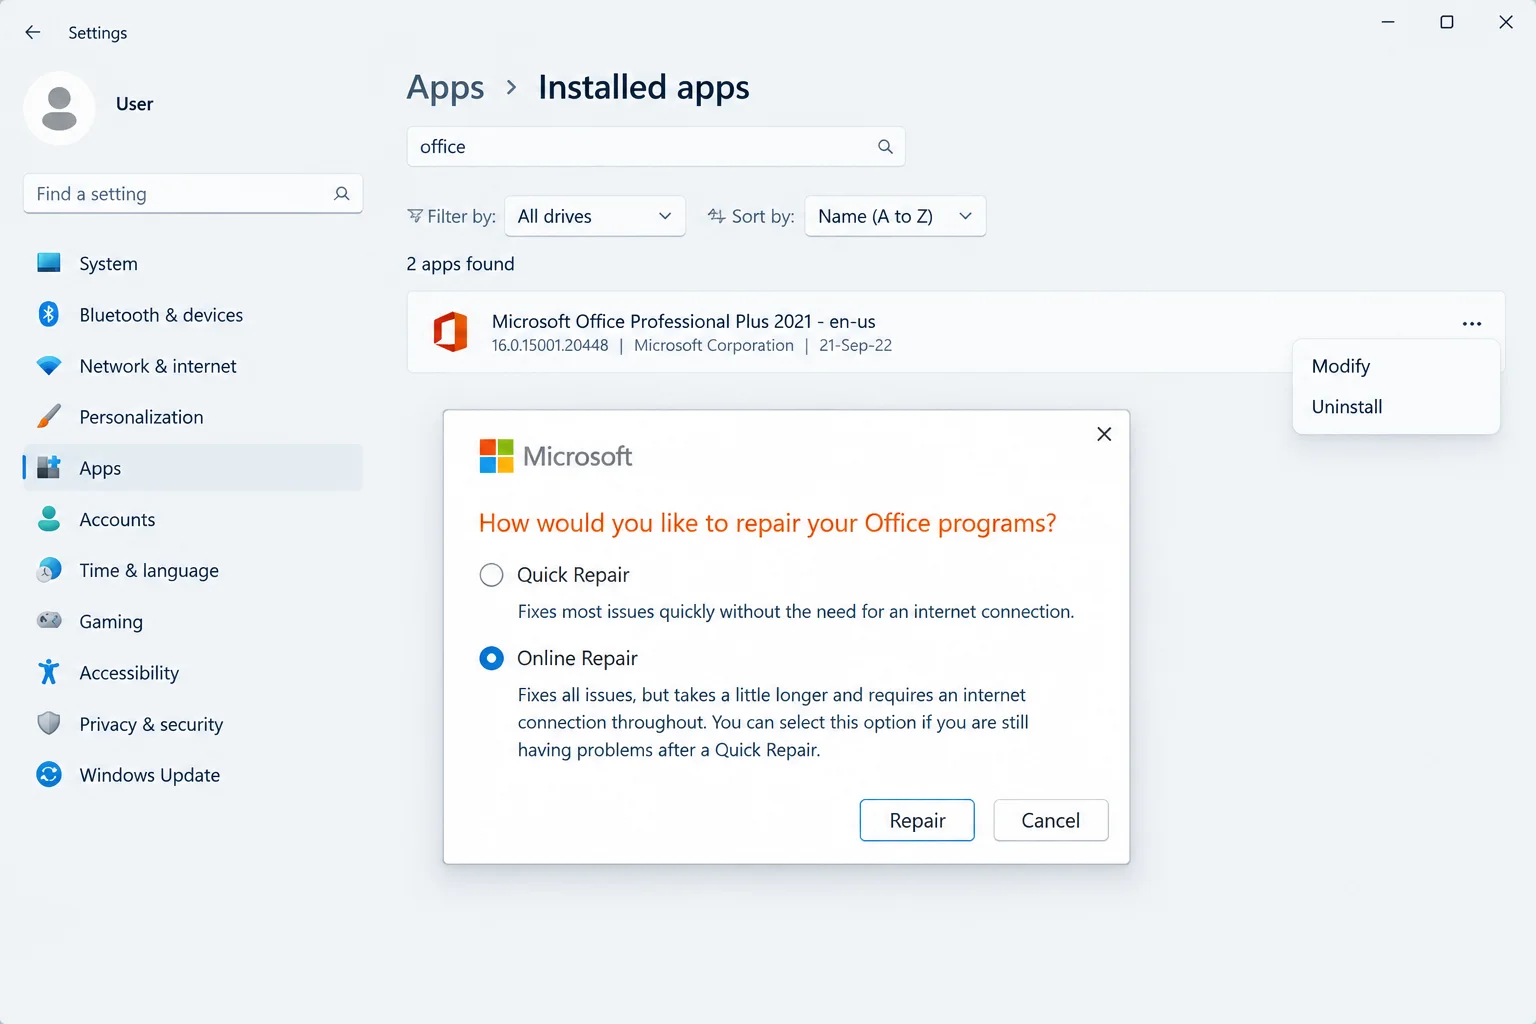
Windows includes a built-in repair tool for Microsoft 365 and Office apps. On Windows 11, go to Settings > Apps > Installed apps, find Microsoft 365, click the three dots, and choose Modify. Start with a Quick Repair. If that fails, the Online Repair is more thorough but takes longer.
Creating a New Outlook Profile
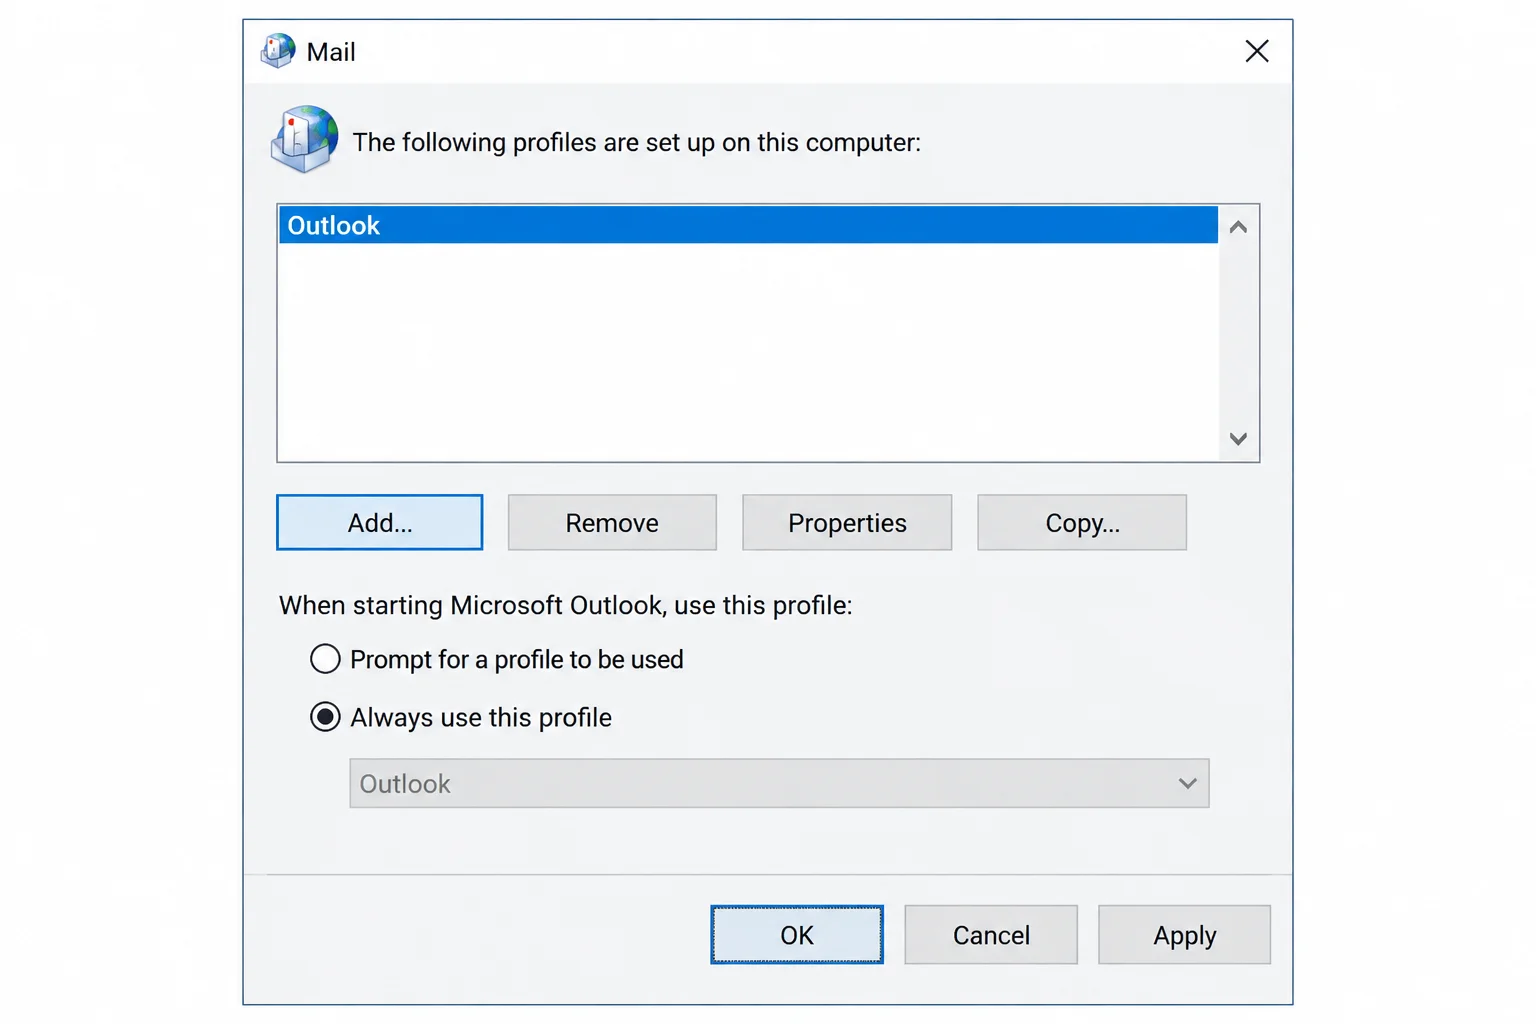
A corrupted profile can cause recurring .OST issues. You can create a new profile via the Control Panel > Mail > Show Profiles > Add. This forces Outlook to rebuild not just the data file, but all registry settings and configurations associated with your account.
The scanpst.exe Myth
A common mistake is trying to run scanpst.exe (the Inbox Repair Tool) on an .OST file. Microsoft’s official guidance states that scanpst.exe is intended for .PST files. While it might occasionally work on IMAP .OST files, the recommended and documented fix for Exchange/Microsoft 365 .OST corruption is the rebuild method detailed in this guide.
By following these steps to rebuild corrupted outlook ost file caches, you ensure that your professional workflow remains uninterrupted. Always remember to keep your .ost.bak file for a few days until you are absolutely certain that every important email and calendar event has been successfully restored.