
You uninstalled iTunes, but Windows 11 still lists “Apple Mobile Device Support,” “Bonjour,” and other Apple programs under Installed apps. Historically, iTunes installs each helper component as a separate program, meaning that removing iTunes alone leaves the rest behind on your system.
Why iTunes Leaves Behind Leftover Files on Windows 11
The classic desktop installer from Apple’s website adds several supporting background programs that Windows registers as standalone apps. The exact set varies by version, though Microsoft Store installations typically display fewer separate entries. Understanding these components helps you identify what remains on your PC:
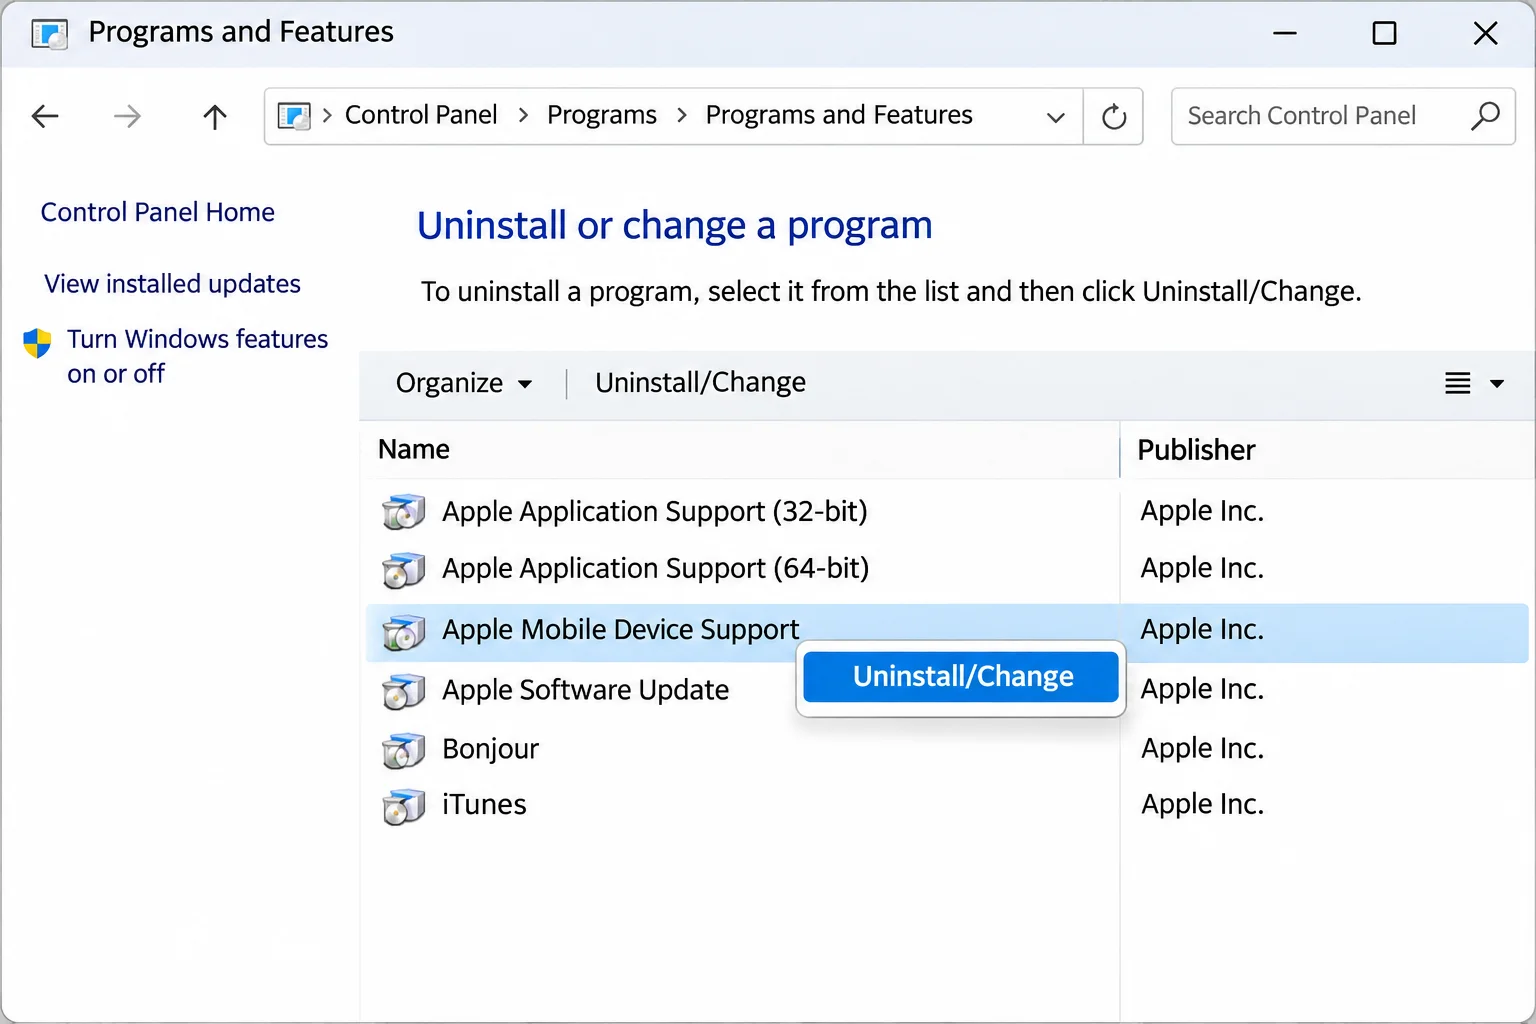
- Apple Mobile Device Support: Supplies the driver and service Windows uses to detect a connected iPhone or iPad.
- Apple Application Support: Shared support files, which may appear as both 32-bit and 64-bit entries.
- Apple Software Update: Periodically checks for updates to Apple software.
- Bonjour: Apple’s network discovery service.
Because each helper is registered independently, uninstalling iTunes does not automatically remove the others. Whether they stay behind depends on the installer version, what other software on the PC uses them, and how each uninstaller behaves.
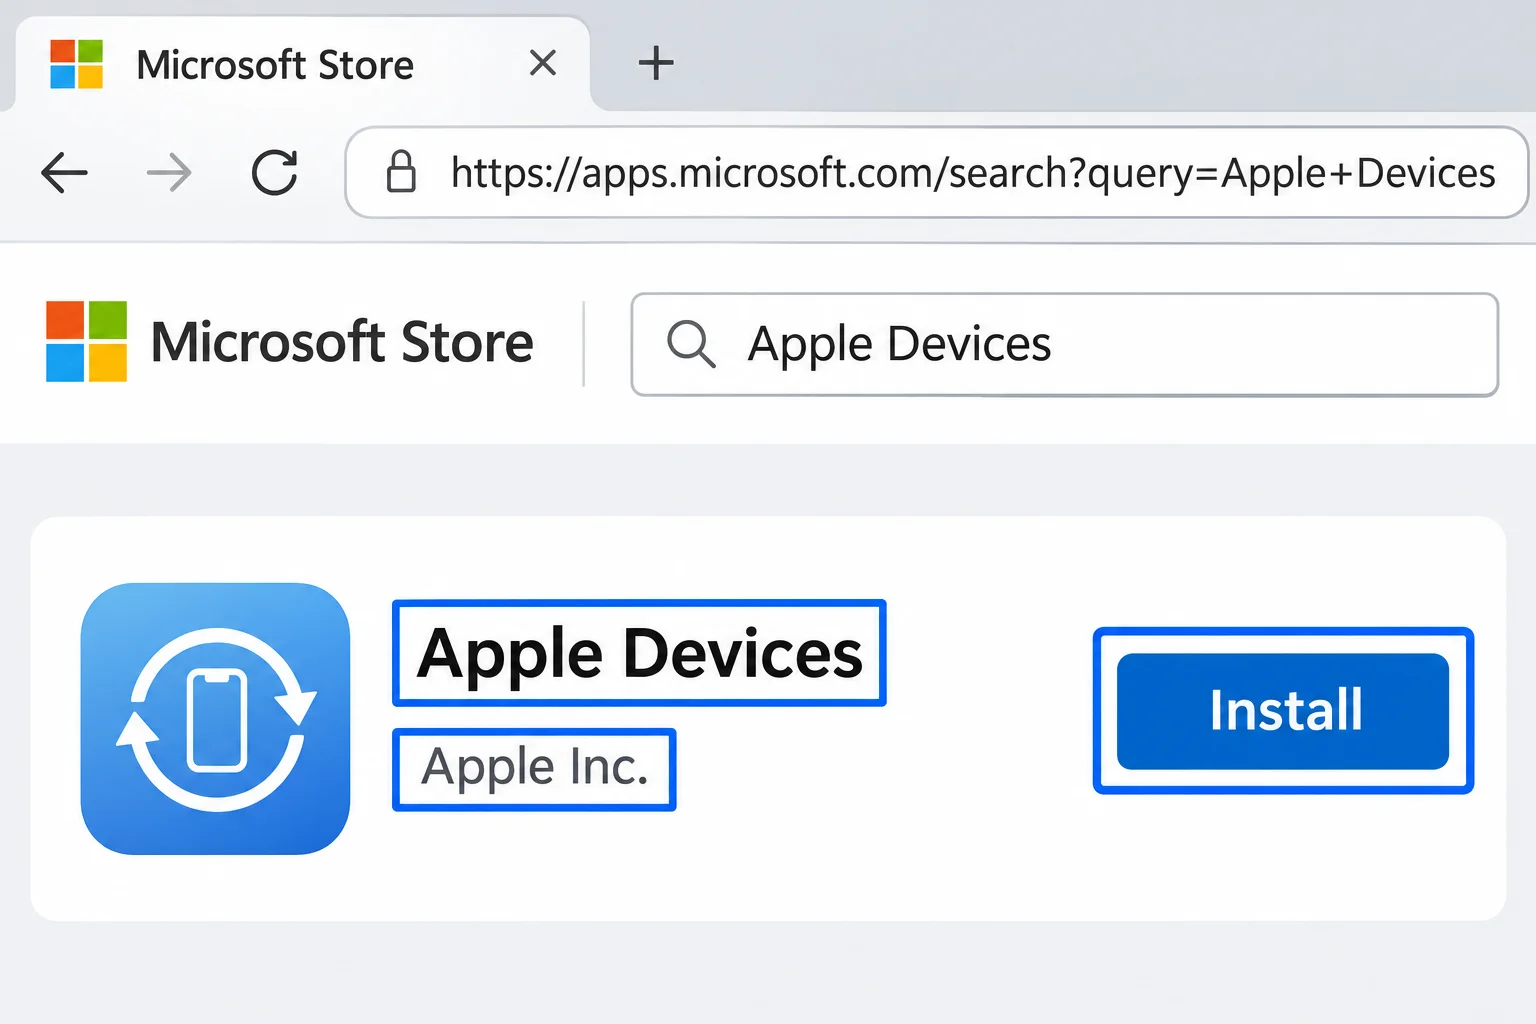
Apple has since split classic iTunes functions across separate modern Windows apps:
- Apple Devices: Handles device syncing, backing up, and restoring for iPhones and iPads.
- Apple Music: Manages your local and cloud music library.
- Apple TV: Manages movies and TV shows.
Step 1: Back Up Your iTunes Media Library
Uninstalling iTunes typically preserves your media library, but deep cleanup steps can delete files if you are not careful. Always secure an external backup first using an external hard drive, portable SSD, or large USB flash drive.
- Open iTunes, go to Edit > Preferences > Advanced, and note the folder path listed under the iTunes Media folder location.
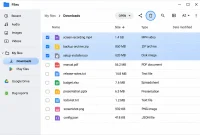
- Open File Explorer and navigate to the parent iTunes folder containing your media folder.
- Copy the entire iTunes folder to your external drive. Ensure the copied folder matches the original size.
Tip: If iTunes refuses to open, check your default Music folder in File Explorer for a folder named iTunes and copy that instead.
Step 2: Secure Your iPhone Backups
If you have previously backed up an iPhone with iTunes, those local archives reside on your PC. Create a fresh backup or copy existing ones before continuing.
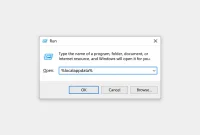
- Press Win + R, type
%USERPROFILE%AppleMobileSyncBackup, and press Enter. If that folder does not open, try%AppData%Apple ComputerMobileSyncBackupinstead. - Copy the entire
Backupfolder, with all subfolders intact, to your external drive.
Warning: Treat the copied folder strictly as an archive. Do not rename, extract, or edit files inside it. When restoring later, let Apple Devices or iTunes find the backup in its normal location rather than restoring directly from a moved copy.
Step 3: Close Background Apple Processes
Running background services can block an uninstallation procedure. Clear active tasks before proceeding with system removal.
- Press Ctrl + Shift + Esc to open Task Manager.
- On the Processes tab, look for any tasks named
iTunes,iTunesHelper, orApple. - End these active tasks. Do not worry about background services that restart automatically; the uninstaller handles those during removal.
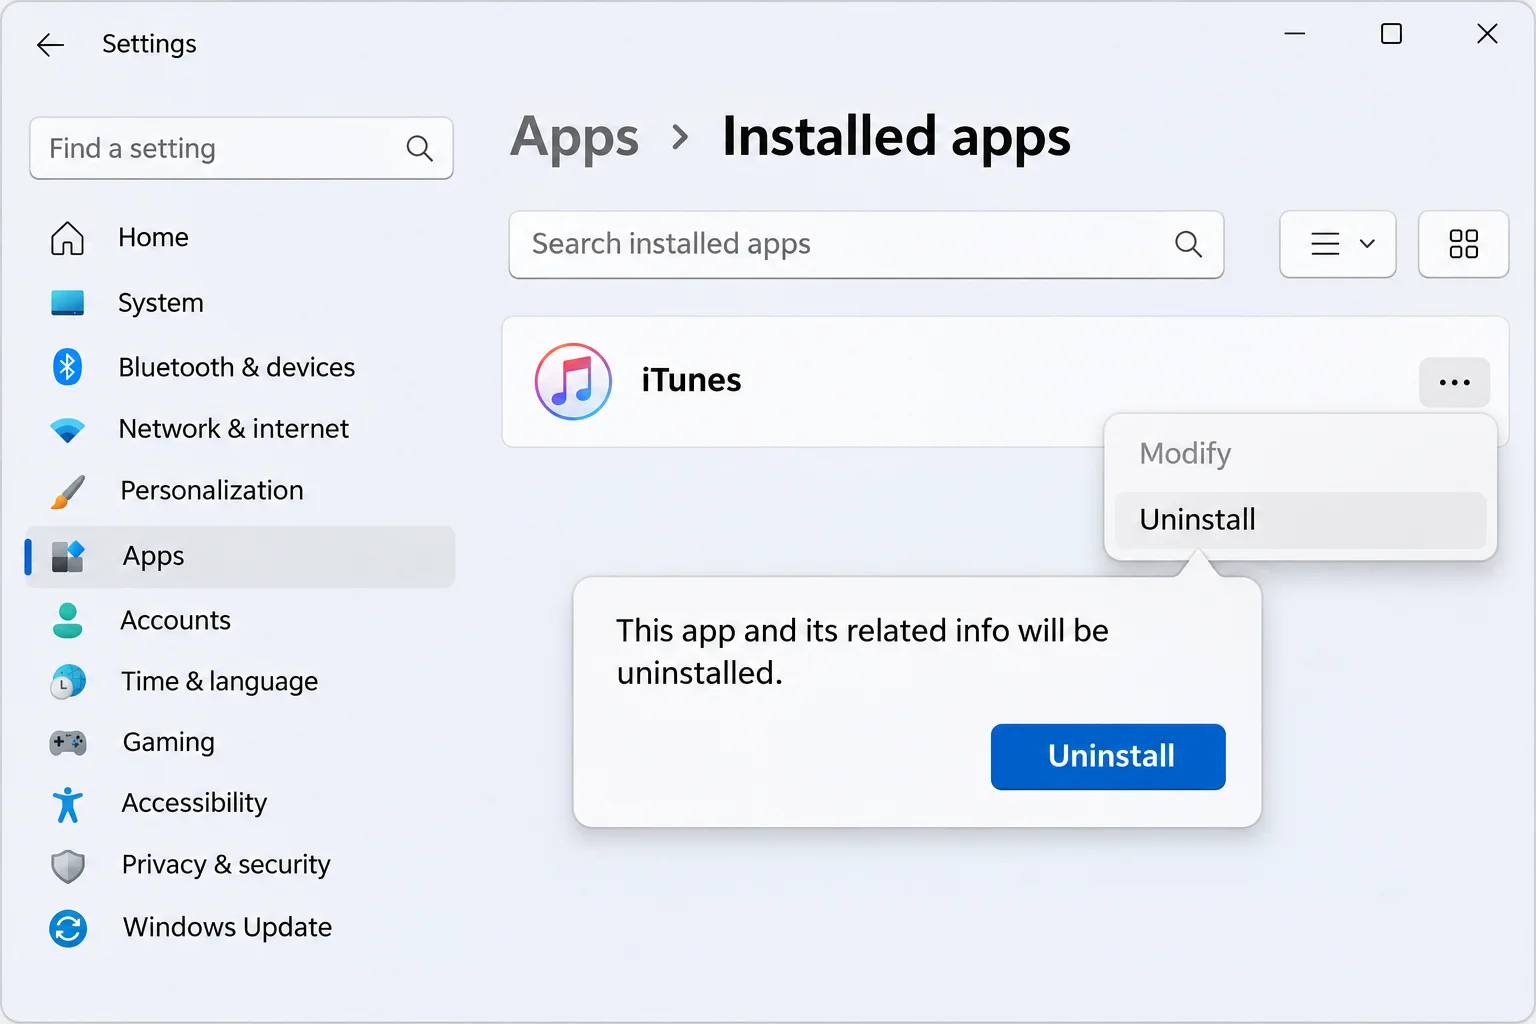
Step 4: Uninstall iTunes and Helpers via Settings
To completely remove iTunes and Apple Mobile Device Support, navigate through Windows Settings while following a specific uninstallation order to prevent broken dependency errors.
- Open Settings > Apps > Installed apps.
- Type
Applein the search box to list Apple entries, alongside searches foriTunesandBonjour. - Click the More (…) button next to each item and select Uninstall.
Recommended Removal Sequence:
- 1. iTunes
- 2. Apple Software Update
- 3. Apple Mobile Device Support
- 4. Bonjour
- 5. Apple Application Support (32-bit, then 64-bit last)
Note: If you still use iCloud for Windows and intend to keep it, leave it alone. Note that it may rely on shared Apple components, so verify that iCloud functions correctly after the cleanup process concludes.
Step 5: Advanced Cleanup: Drivers and Program Folders
This optional, invasive step should only be performed if you do not plan to connect an iPhone to this PC using Apple software again soon. Skip this step if you are migrating to the modern Apple Devices app.
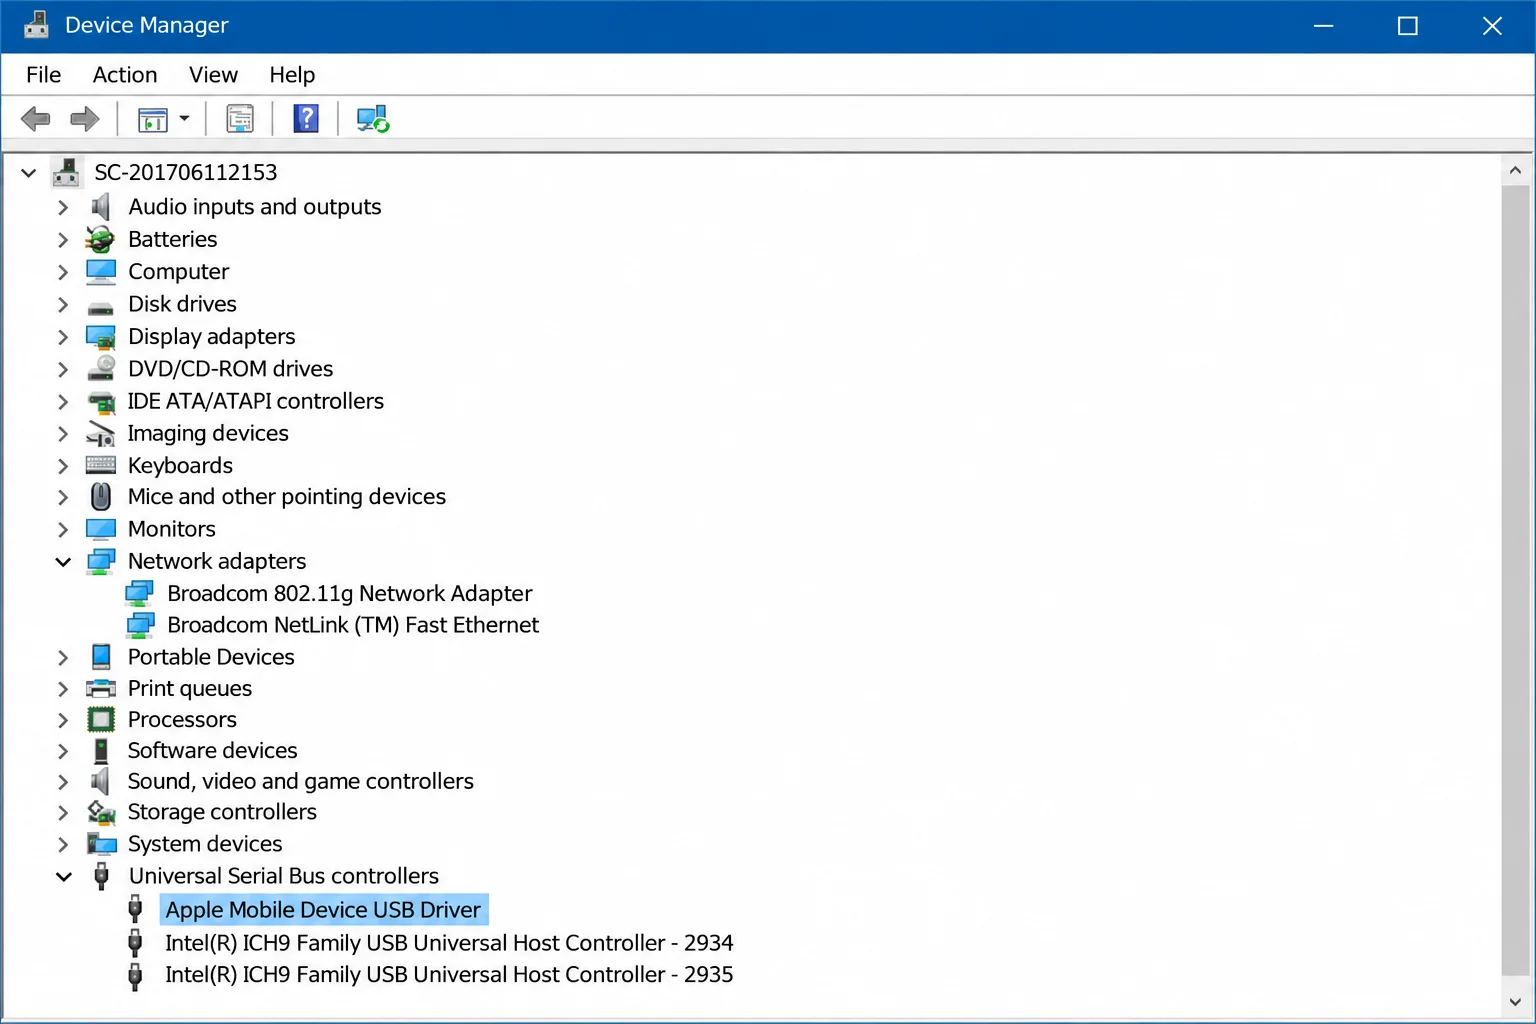
- Remove USB Drivers: Press Win + R, type
devmgmt.msc, and press Enter. Locate the Apple Mobile Device USB driver entry under Universal Serial Bus controllers, right-click it, and choose Uninstall device. Check the option to remove driver software only if no other Apple app needs it. - Prune Residual Program Folders: Check program directories such as
C:Program FilesCommon FilesApple,C:Program FilesiTunes, andC:Program FilesBonjour(along with their x86 equivalents) and delete only the residual subfolders left behind. - Handle Shared Data Folders: If no Apple software remains installed, rename
%ProgramData%Apple Computerby appending.oldto the end. Inside%AppData%Apple Computer, leave theMobileSyncfolder untouched and rename all other subfolders similarly. Restart your PC and test normal operation for a few days before deleting the renamed folders permanently.
Step 6: Reinstalling Apple Software or Switching to Modern Apps
After a clean removal, decide whether to adopt modern Microsoft Store management apps or stick with classic desktop software.
| Application Option | Source | Primary Function |
|---|---|---|
| Apple Devices | Microsoft Store | Device syncing, backing up, and restoring for iPhones and iPads. |
| Apple Music & Apple TV | Microsoft Store | Manages music, movies, and TV show libraries that Apple Devices syncs from. |
| Classic iTunes | Apple Website | Legacy all-in-one suite; ideal for large local libraries, podcasts, and audiobooks. |
| iCloud for Windows | Microsoft Store / Apple Website | Lighter option dedicated solely to photo and file syncing. |
Troubleshooting Stubborn Apple Uninstalls and Detection Issues
If you encounter roadblocks while attempting to completely remove iTunes and Apple Mobile Device Support Windows 11, apply these targeted troubleshooting steps:
- Missing Uninstall Options in Settings: Press Win + R, type
appwiz.cpl, and press Enter to open the classic Control Panel. Select the stubborn app and click Uninstall or use the Repair option if available. - Stuck Installers: Utilize Microsoft’s official program install and uninstall troubleshooter tool to clear corrupted registry keys blocking removal.
- iPhone Not Recognized After Cleanup: This is normal once Apple Mobile Device Support is removed. Reinstall either Apple Devices or classic iTunes to restore necessary device drivers. If detection fails, try a different USB port or replace the cable.