
Encountering a Dynamic Link Library (DLL) file often happens in one of two ways: either you are curious about what is inside one, or your computer has just thrown a frustrating error message like “The program can’t start because MSVCP140.dll is missing.” Because these files are fundamental to the operating system, learning how to open dll file safely windows is a vital skill for troubleshooting and development alike.
Unlike an executable (.exe) or a document, a DLL is not a program you run directly. Instead, it is a library that other programs load to share code and resources. Double-clicking one usually results in a generic “How do you want to open this file?” prompt or an error, because DLLs lack a normal launch point for users. This guide explains how to peer inside these files safely and how to resolve missing file errors without compromising your system’s integrity.
Understanding .DLL Files and Why You Cannot Open Them Directly
A DLL (Dynamic Link Library) serves as a container for compiled code, icons, and dialog layouts that multiple programs can use simultaneously. Windows components, modern video games, and productivity suites like Microsoft Office all load these libraries at runtime to borrow specific functions. While a DLL may include an initialization routine that executes when a program loads it, it does not function as a standalone application.
There are two primary types of DLLs you will encounter:
- Native DLLs: These contain compiled machine code specifically for x86, x64, or ARM64 architectures. They are often written in languages like C or C++. While you can list their contents, the original source code and comments are stripped during compilation.
- .NET Assembly DLLs: These contain Intermediate Language (IL). Because they are higher-level, they can be decompiled back into fairly readable C# code using the right tools.
It is critical to remember: never edit or overwrite a system DLL. Modifying these files invalidates their digital signatures. Windows verifies many files through catalog signatures; if a file no longer matches its signature, the result can range from application crashes and security warnings to total system instability. Furthermore, you should avoid downloading individual DLL files from third-party “DLL provider” websites, as these files are often outdated, the wrong architecture, or bundled with malware.
Prerequisites and Safety Precautions Before You Begin
Before attempting to inspect or repair DLL files, ensure you have the following ready:
- Administrator Account: Required for running system repair commands like SFC and DISM.
- Internet Connection: Necessary to download official inspection tools or Microsoft redistributable packages.
- Visual Studio or Build Tools: Only required if you intend to use the
dumpbinutility for native file analysis. - Recent Backup: Always back up your data to an external drive or cloud storage before running repair commands that modify system files.
Safety is paramount when handling system binaries. If you are dealing with a DLL from an untrusted source, do not open it on your primary operating system. Instead, use Windows Sandbox (available in Windows 10/11 Pro, Enterprise, and Education) or a disposable virtual machine. Always scan suspicious files with Microsoft Defender or a reputable antivirus tool before proceeding. For highly sensitive or confidential files, avoid using public online analysis services, as they often share submitted samples with the security community.
Step-by-Step Guide: How to Open DLL File Safely Windows Without System Risk
To inspect a DLL without risking the original file, follow these steps to isolate and analyze the data safely.
Step 1: Isolate the File
Never work directly on a file located in C:WindowsSystem32 or an active application folder. Open File Explorer, navigate to the DLL, and copy it. Create a new folder in your Documents named “DLL inspection” and paste the copy there. This ensures that even if you accidentally save a change in an inspection tool, the original system file remains untouched. If Windows claims the file is in use, restart your PC or close the associated application; do not force-close system processes to unlock it.
Step 2: Check Metadata via Properties
The simplest way to get information is through the Windows UI. Right-click your copied DLL and select Properties. On the General tab, you can confirm the file size and type. The Details tab provides the file version, product name, and copyright info. Most importantly, check the Digital Signatures tab. A legitimate file from Microsoft or a known vendor will show a matching signature. Note that some genuine Windows files use catalog signing and may not display this tab, but an unsigned file from an unknown source should always be treated with caution.
Step 3: Analyze Modules with the Dependencies App
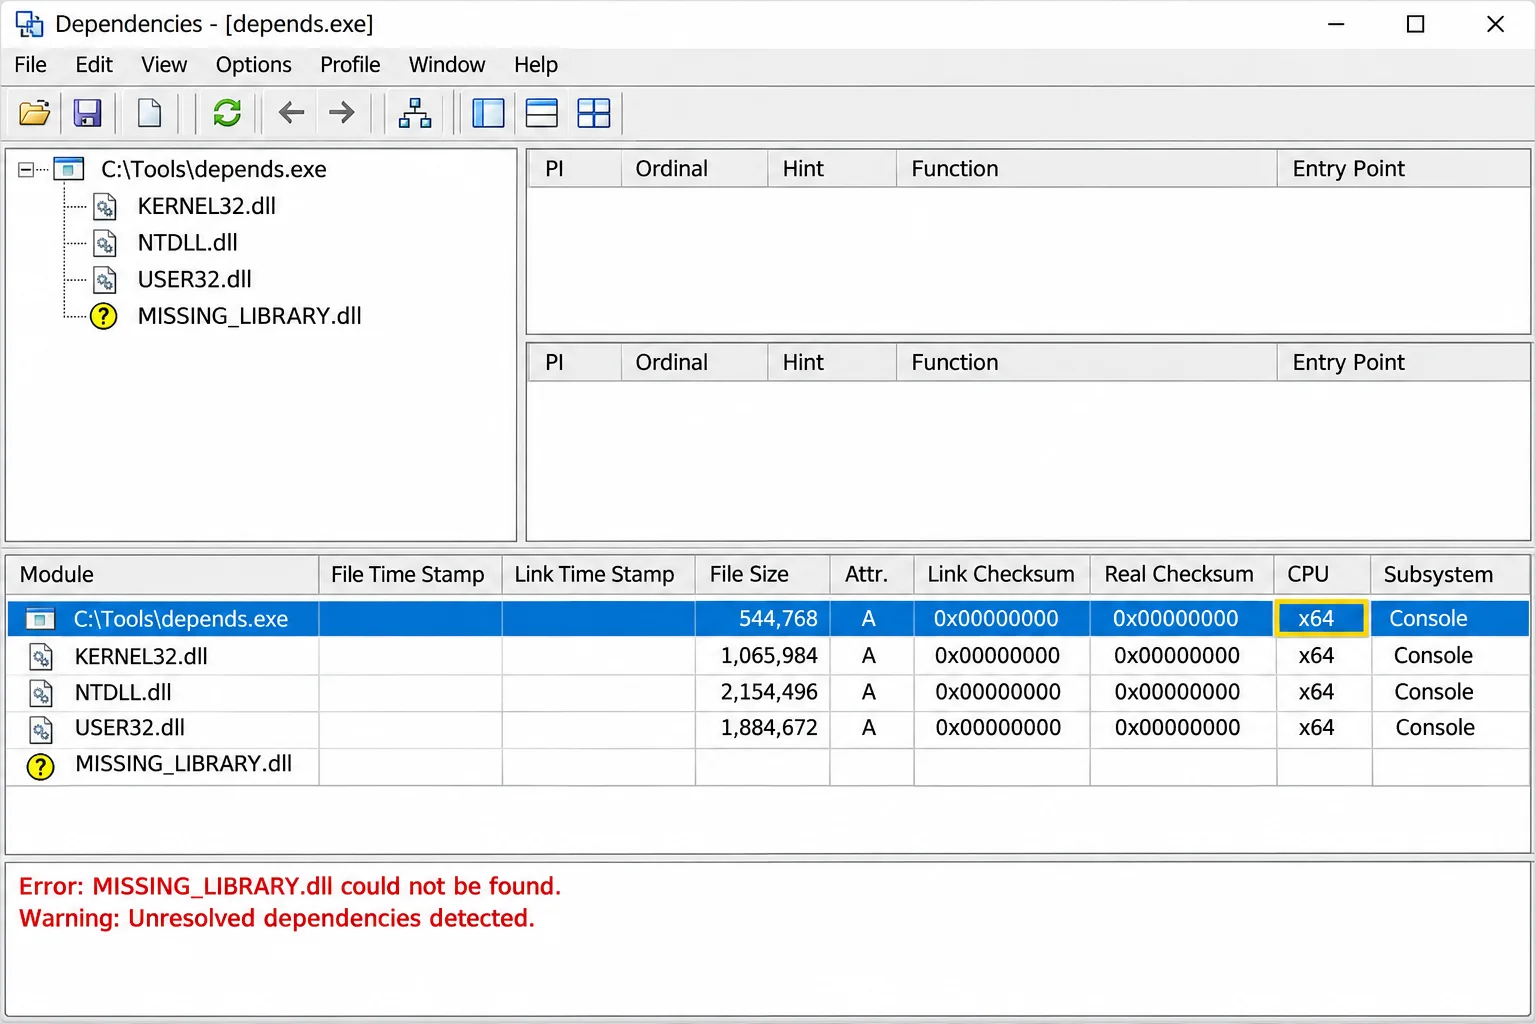
To see which other files your DLL relies on, use the open-source Dependencies tool. After downloading and extracting the app, go to File > Open and select your copied DLL. The left pane will display a tree of every module the file imports. This is excellent for troubleshooting “missing component” errors, as it flags missing or architecture-mismatched entries. Note that entries starting with api-ms-win- are internal Windows loader contracts, not physical files, and can usually be ignored if the app otherwise runs.
Step 4: Browse Assets with Resource Hacker
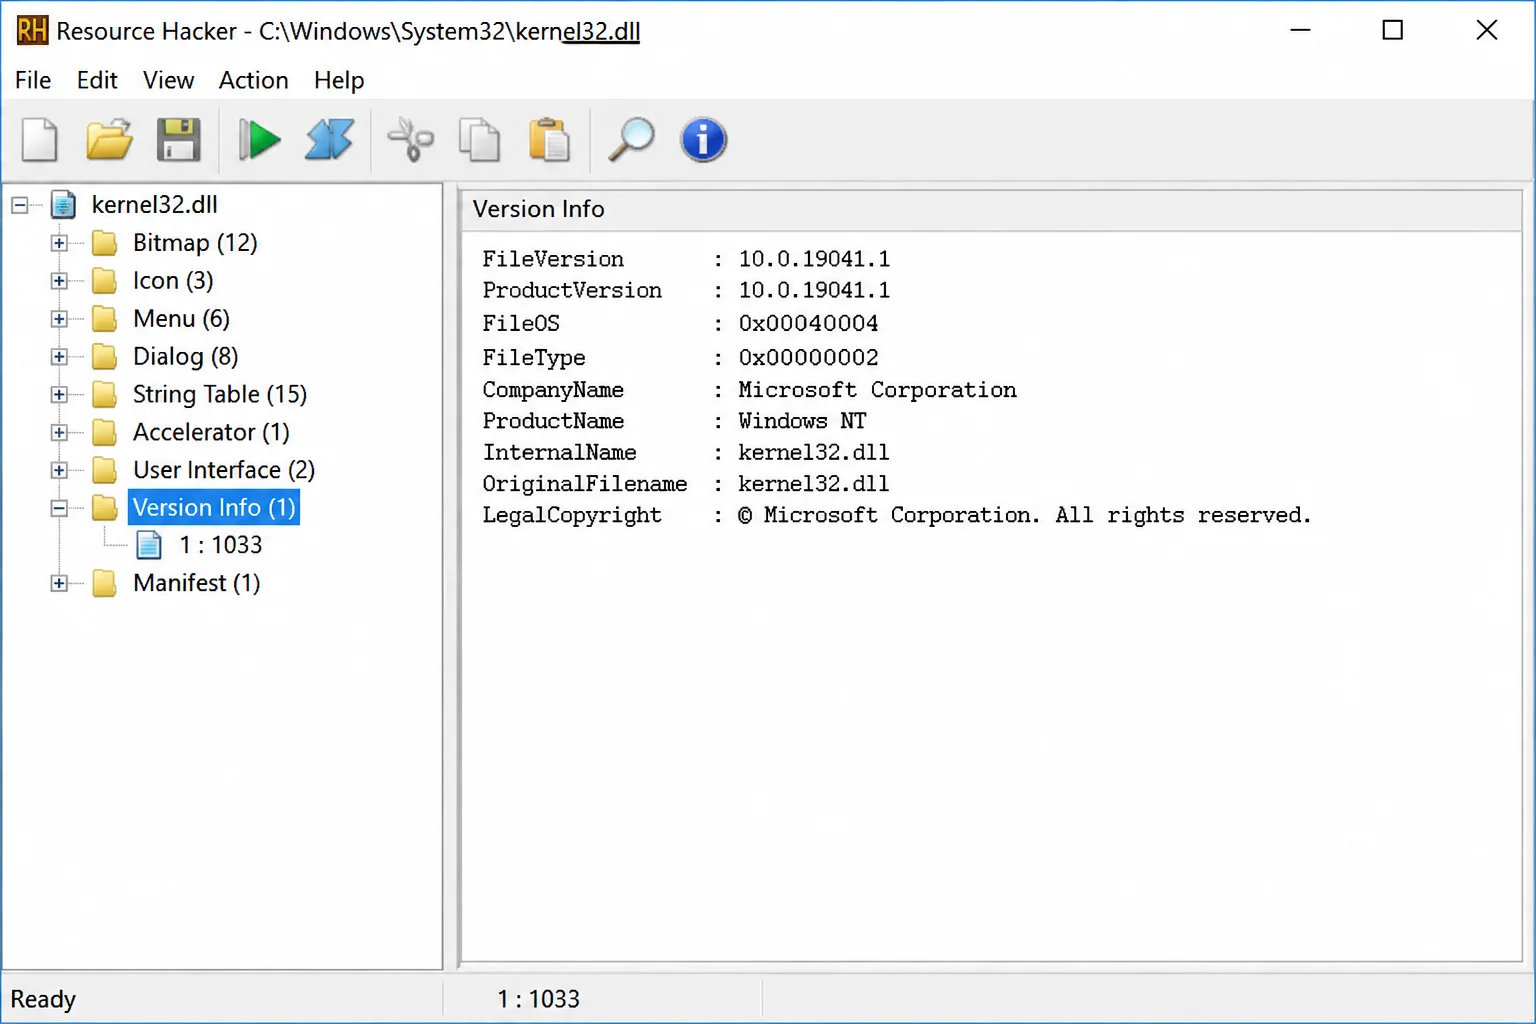
If you want to see the visual or textual resources inside a DLL, Resource Hacker is the standard tool. Open your copied DLL in the application to expand categories like Version Info, Icons, or String Tables. You can read embedded manifests and dialog layouts here. While Resource Hacker allows editing, you should treat it as a read-only viewer to avoid corrupting the file’s structure.
Step 5: Extract Headers and Exports with dumpbin
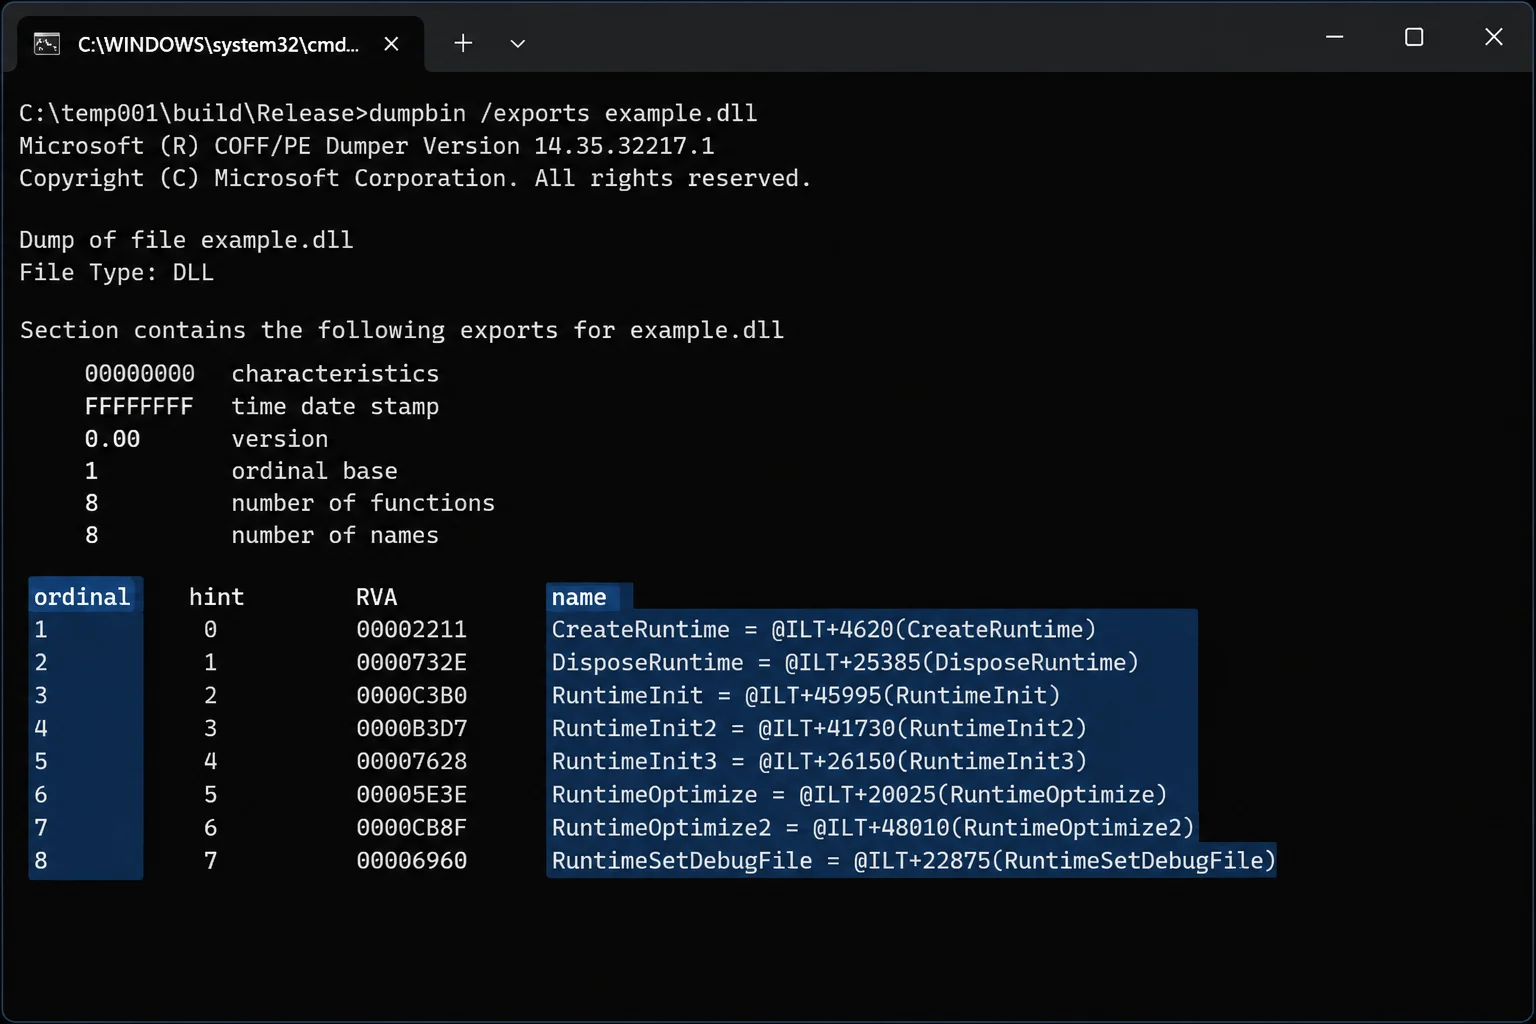
For those with Visual Studio installed, the dumpbin utility provides deep technical insights. Open the Developer Command Prompt and run dumpbin /exports example.dll to see the functions the DLL exposes to other programs. Running dumpbin /headers example.dll will reveal if the file is built for x86, x64, or ARM64. You can also run dumpbin /clrheader example.dll to check if it is a .NET assembly; if it returns a CLR header, you should use a decompiler for better results.
Step 6: Decompile .NET Assemblies with ILSpy
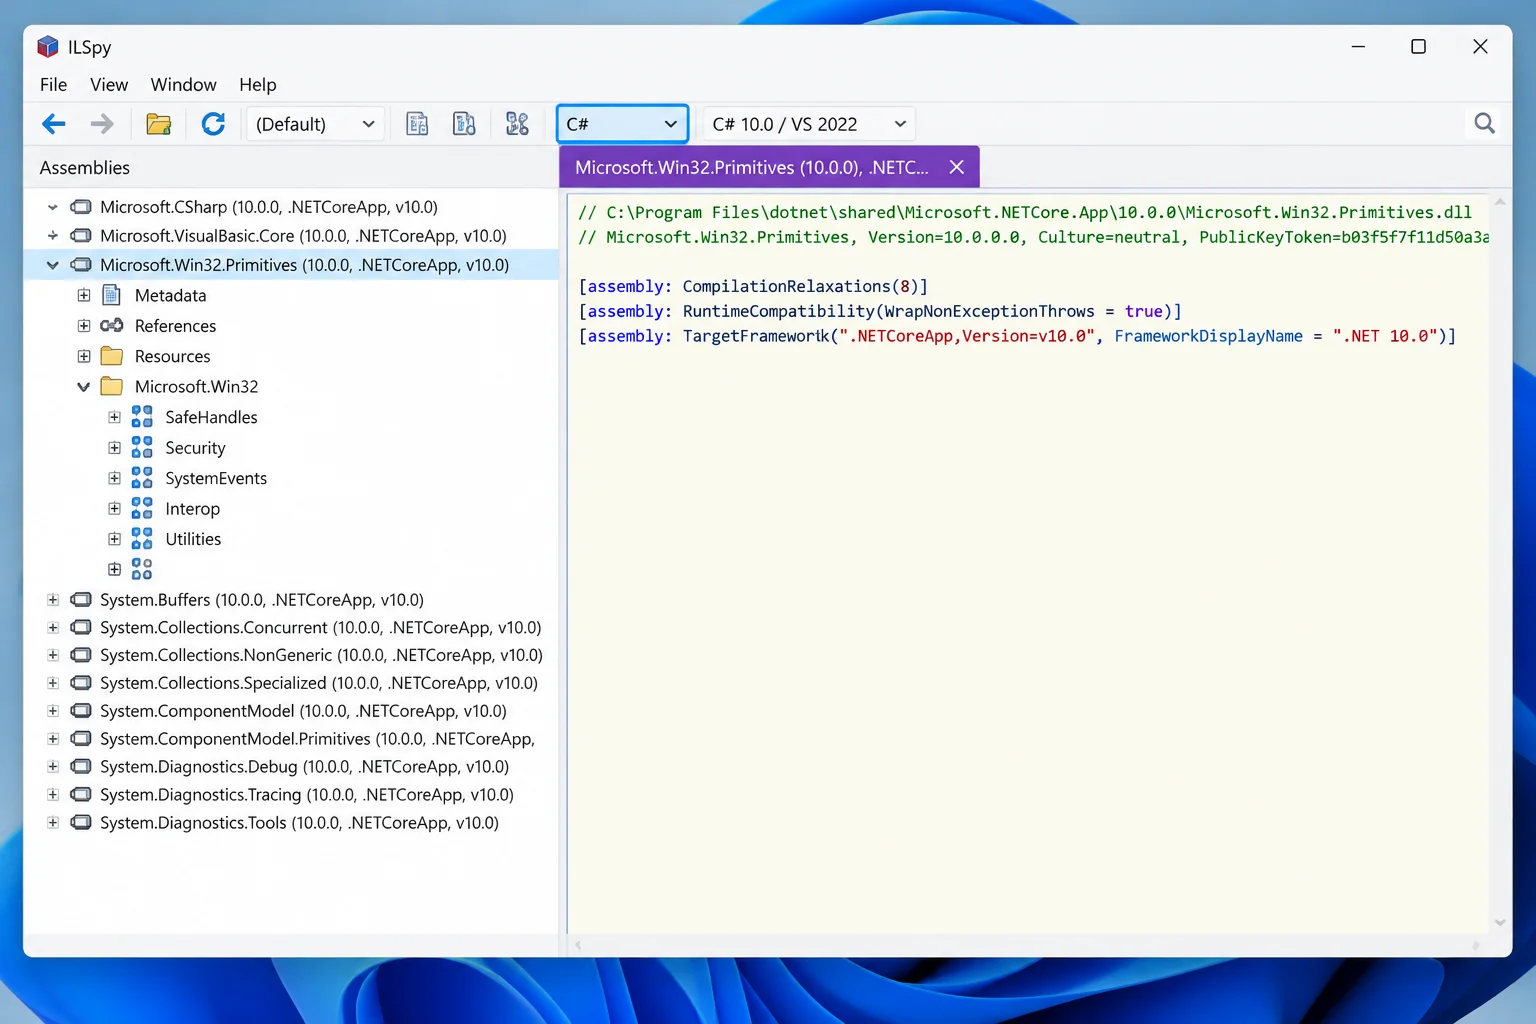
If the DLL is a .NET assembly, tools like ILSpy or dotPeek can reconstruct the code. Open the file in ILSpy, and you can navigate through classes and methods in the left pane. The main window will display readable C# code. This is a powerful way to understand how a library functions, but remember that decompilers can struggle with obfuscated code, and you should never execute or compile the resulting output on a production machine.
How to Fix Missing or Corrupted DLL Errors Safely
If your goal is to fix an error rather than inspect code, do not manually replace files. Instead, use these official recovery methods.
Fix #1: Install the Official Visual C++ Redistributable
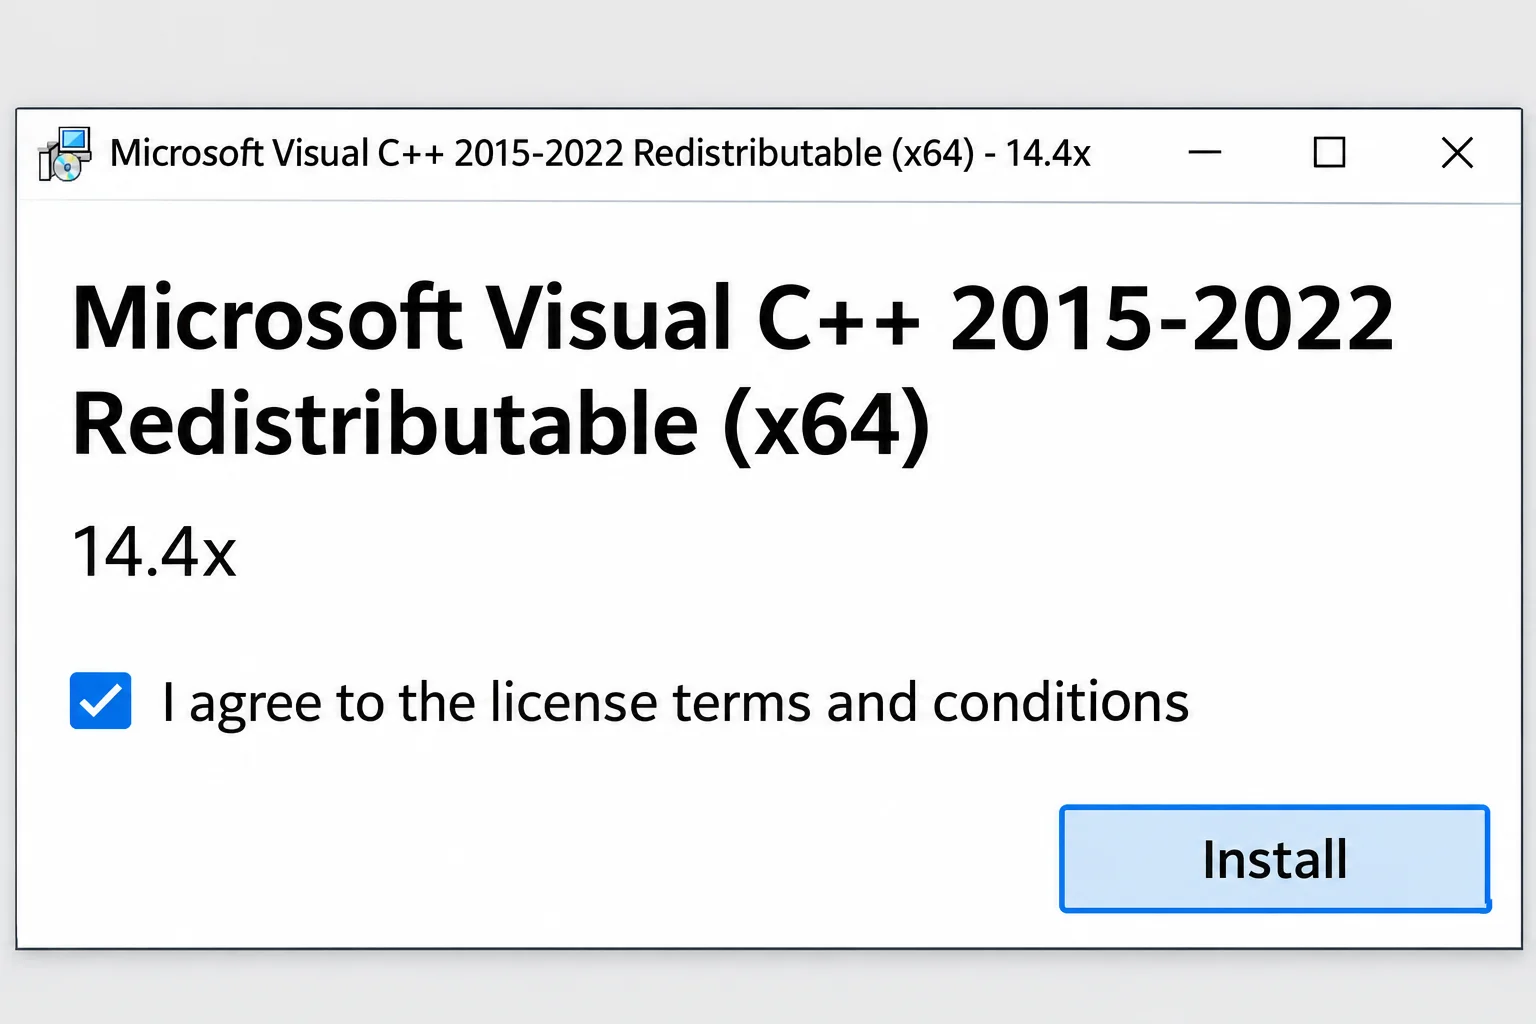
Most “missing DLL” errors involving files like MSVCP140.dll or VCRUNTIME140.dll are caused by missing runtime libraries. Visit the official Microsoft Visual C++ downloads page and download the package that matches your application (x86 for 32-bit apps, x64 for 64-bit). If the package is already installed, run the installer and select Repair. This is the only supported way to restore these specific files.
Fix #2: Run the System File Checker (SFC)
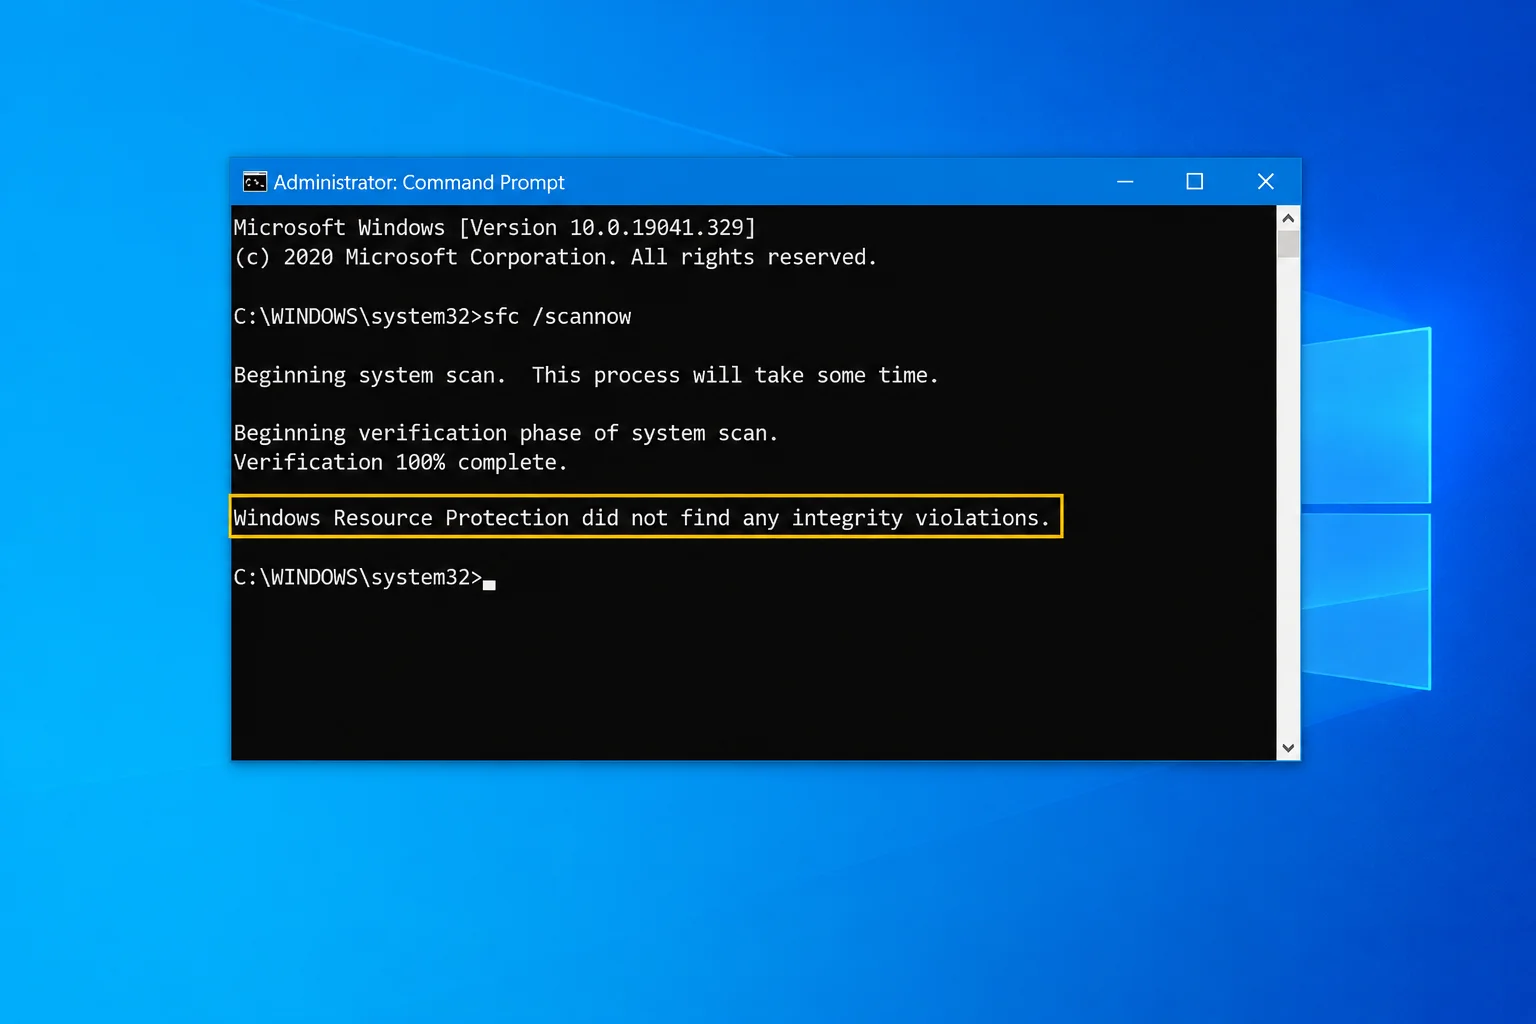
If a core Windows system DLL is missing or corrupted, use the System File Checker. Right-click the Command Prompt and select Run as Administrator, then type sfc /scannow. This utility scans protected system components and replaces damaged files with a clean cached copy. If it finds and repairs files, restart your computer immediately.
Fix #3: Repair the Windows Image with DISM
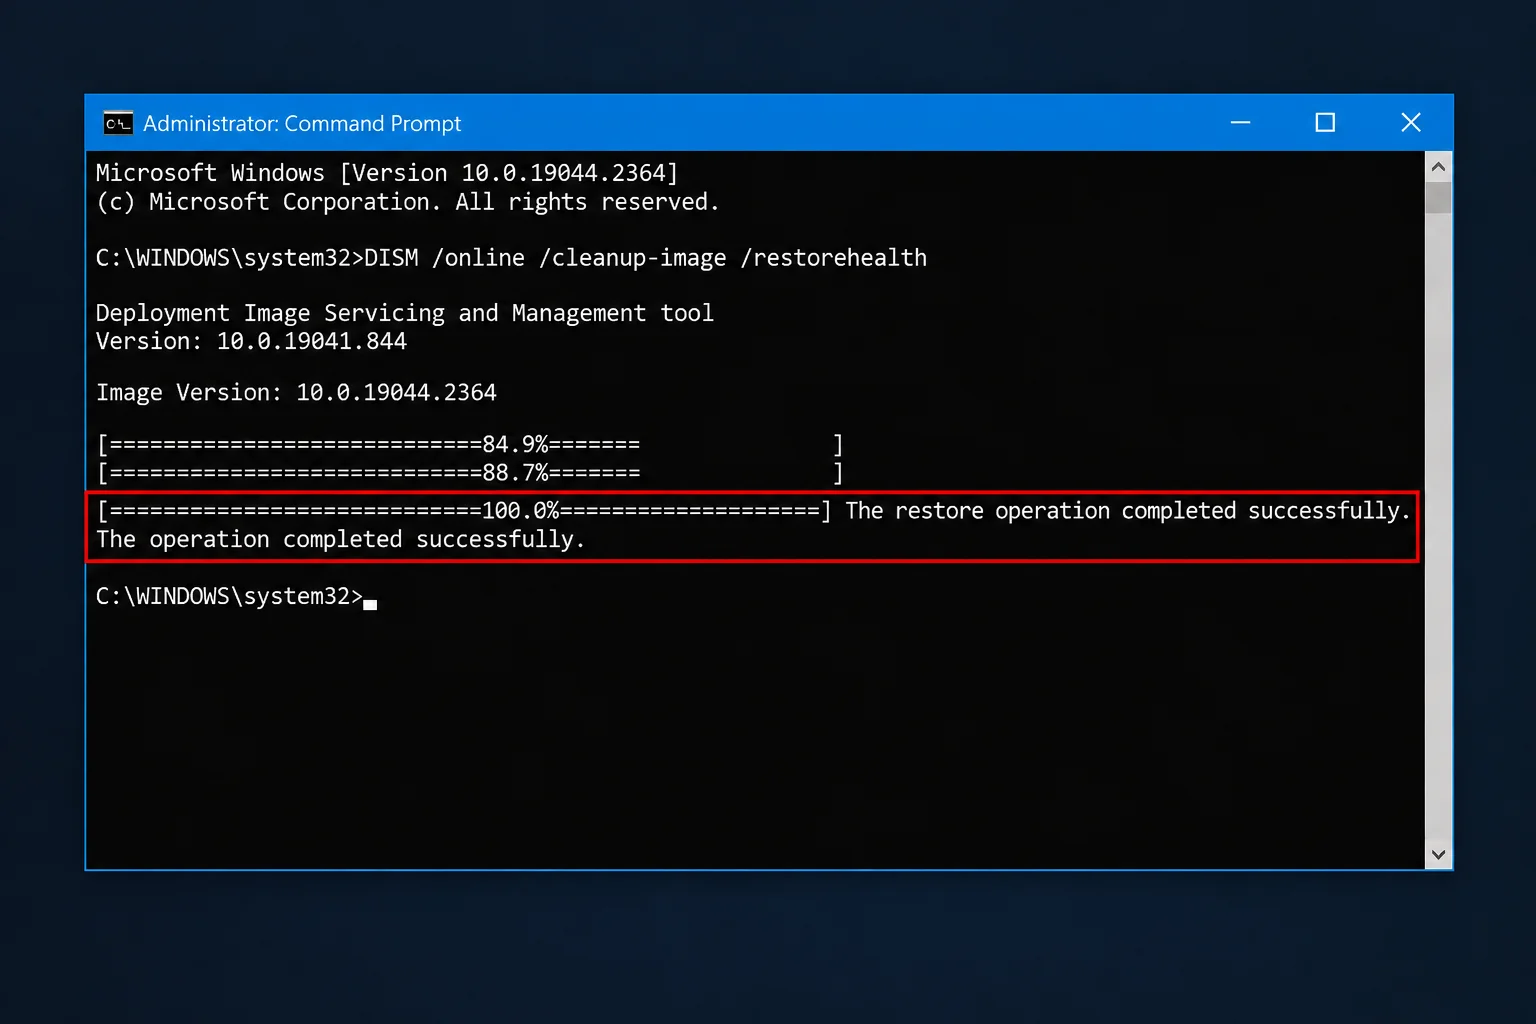
If SFC fails to fix the problem, it is often because the source image SFC uses is itself corrupted. To fix this, run the Deployment Image Servicing and Management (DISM) tool. In an elevated Command Prompt, enter DISM /Online /Cleanup-Image /RestoreHealth. This command connects to Windows Update to download clean versions of corrupted system files. Once DISM finishes, run sfc /scannow again to complete the repair.
Troubleshooting Common DLL Inspection and Error Scenarios
Even with the right tools, you may encounter specific hurdles during your analysis:
- Architecture Mismatches: If you see the error “The DLL is not a valid Win32 application,” it usually means you are trying to load a 64-bit DLL into a 32-bit process or vice versa. Use
dumpbin /headersto verify the architecture. - Entry Point Not Found: This typically indicates a version mismatch. Reinstall the application that owns the DLL rather than trying to find a single replacement file.
- Obfuscated Code: If ILSpy shows garbage or meaningless variable names, the .NET DLL has likely been obfuscated to protect intellectual property.
- Persistent Corruption: If SFC and DISM find new errors after every reboot, your hardware may be failing. Run a full Microsoft Defender scan, use
chkdskto check your drive health, and run the Windows Memory Diagnostic to test your RAM.
Whether you are a developer debugging a module or a user trying to get a game to launch, knowing how to open dll file safely windows ensures you can handle these complex files without risking your system’s health. By using isolation, official repair tools, and reputable inspection utilities, you can solve almost any DLL-related issue securely.