
Managing multiple profiles across professional and personal boundaries can become tedious when juggling constant sign-outs. Fortunately, multi-account support allows the current Teams desktop app to stay signed in to several accounts simultaneously. Users can effortlessly link work, school, and personal Microsoft accounts in any combination, streamlining communication across different spaces without constantly logging in and out.
It is important to note that these steps apply specifically to the current Microsoft Teams desktop app for Windows and macOS. Classic Teams stopped working on July 1, 2005—or rather, July 1, 2025—according to Microsoft. If a menu appears missing, the cause could be an out-of-date application, a specific account type, or a strict organization policy.
Understanding Multi-Account Support in Microsoft Teams
The core philosophy of multi-account support is maintaining simultaneous sessions. Your main application window displays one account at a time. Instead of signing out and back in, you pick another profile directly from the account list under your profile picture.
A second account is a separate sign-in that you add manually, such as a personal Microsoft account placed alongside a corporate profile. On the other hand, a guest organization represents another company’s or school’s Teams environment that invited you as a guest. In most scenarios, you do not add a guest organization as a separate account; once you accept the official invitation, it appears automatically under the account that received it.
However, some guest invitations operate differently. Depending on the inviting organization’s internal policies, you might first need to redeem the guest account, sign in directly, or accept additional permissions before that organization displays properly.
Prerequisites Before You Begin
Before diving into the setup procedure, ensure you have all necessary components ready:
- The current Microsoft Teams desktop app installed on Windows or macOS.
- At least one account already signed in to Teams, which can be a work, school, or personal profile.
- The email address and password for the second account you intend to add.
- For a free personal account, a valid Microsoft account, noting that Teams for personal use is completely free.
- For a guest organization, the official guest invitation email sent by that organization.
- For a work or school account, your normal login credentials, keeping in mind that organization policies may limit whether the account can sign in on your specific device.
Mobile Note: On iOS and Android mobile apps, the option is labeled Add account instead of Add another account, and the interface menus differ from desktop versions. Use Microsoft’s mobile-specific instructions if you are configuring handheld devices.
Step-by-Step Instructions to Add and Switch Accounts
Configuring multiple profiles and managing daily navigation requires just a few precise clicks within the desktop application interface.
Step 1: Sign in with Your First Account
The internal setup steps inside Teams are identical across both Windows and macOS platforms, though launching methods vary slightly.
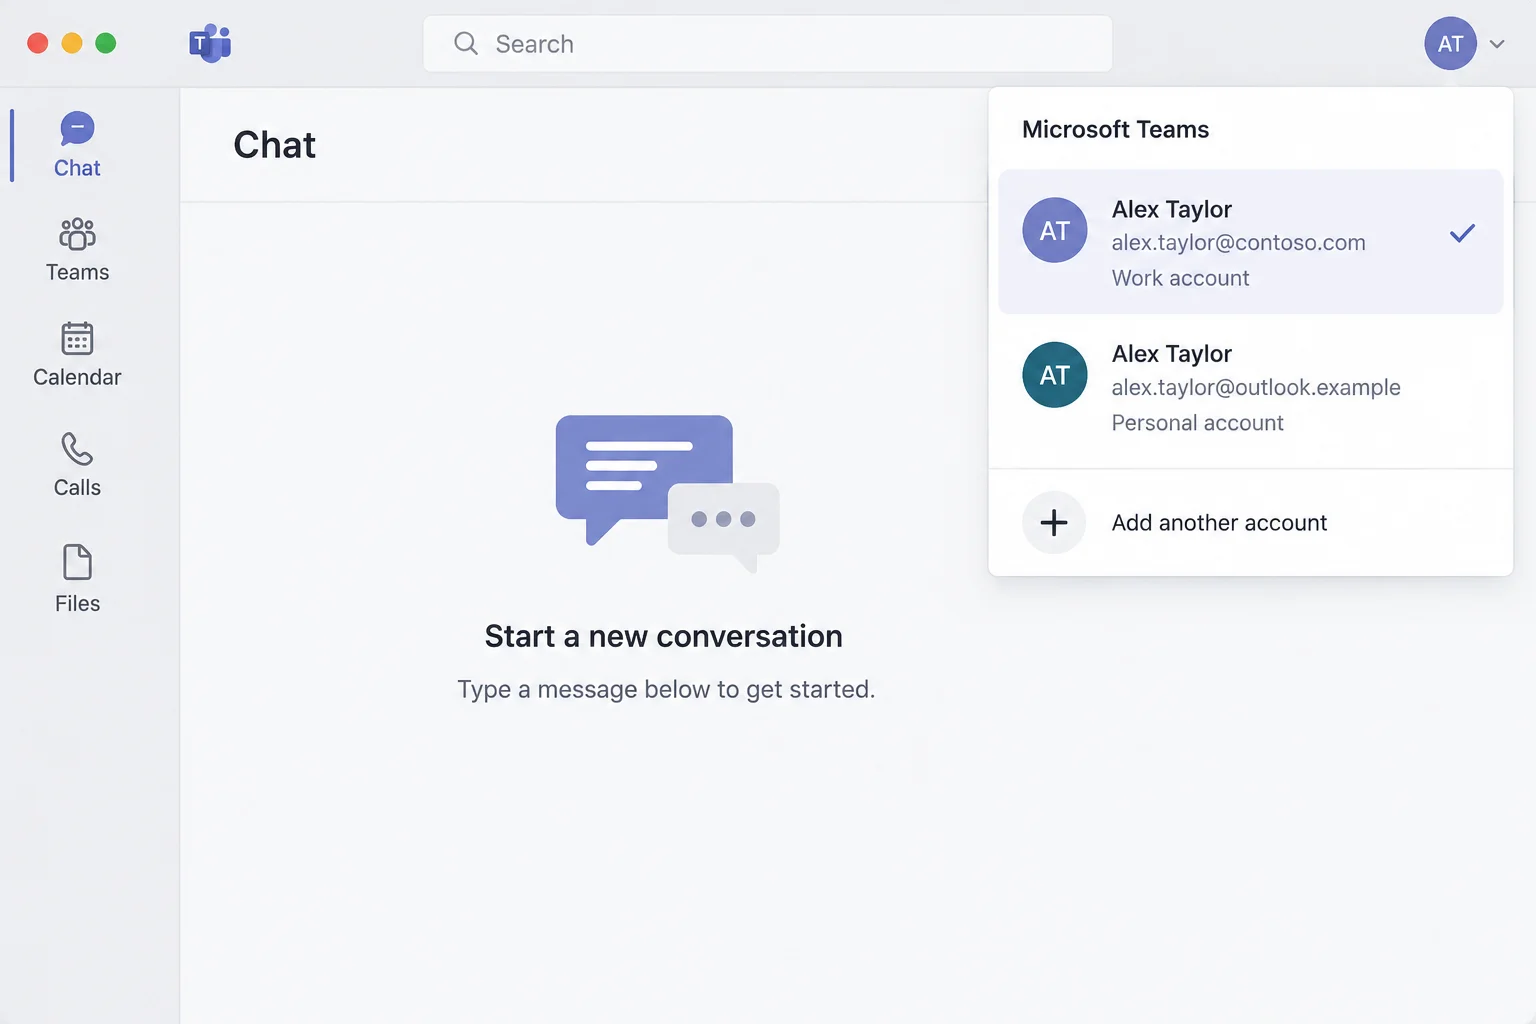
- On Windows, type Teams into your taskbar search and select Microsoft Teams from the results. If prompted, enter your main account email and password.
- On macOS, open Finder and navigate to Applications, or press Cmd + Space and type Teams.
Once opened, Teams loads your main account, and your profile picture displays in the top-right corner of the window.
Step 2: Add a Second Work, School, or Personal Account
Adding supplementary profiles takes only moments through the main user interface:
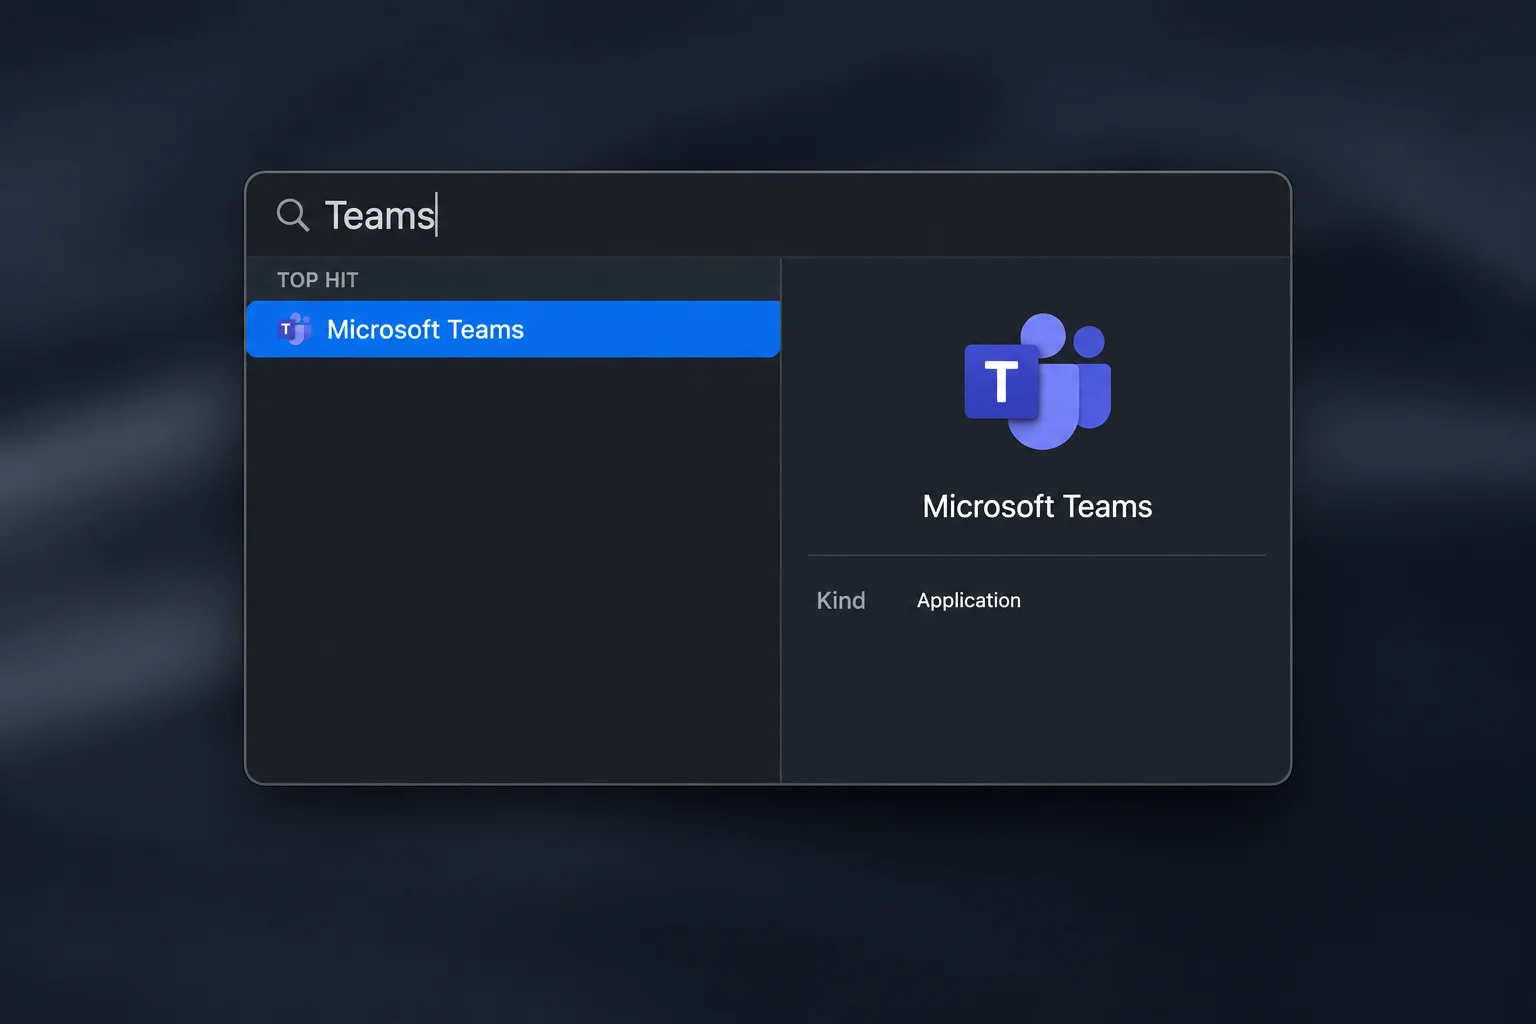
- Select your profile picture in the top-right corner of Teams.
- Choose from the options displayed: select Choose an account you’ve used before if the profile is already recognized by your PC or Mac, or select Create or use another account to type in a brand-new email address.
- Enter the email address for the second account and select Next.
- Provide the password and finish any authentication prompts, such as entering a security code from your authenticator application.
Teams finishes signing in, and the new account subsequently appears in the drop-down list whenever you select your profile picture. You can repeat this step for a third account, such as a combination of work, school, and personal profiles. Microsoft’s documentation specifies a three-account pin limit for the sidebar, though it does not detail an overall hard limit on how many total accounts you can keep signed in concurrently.
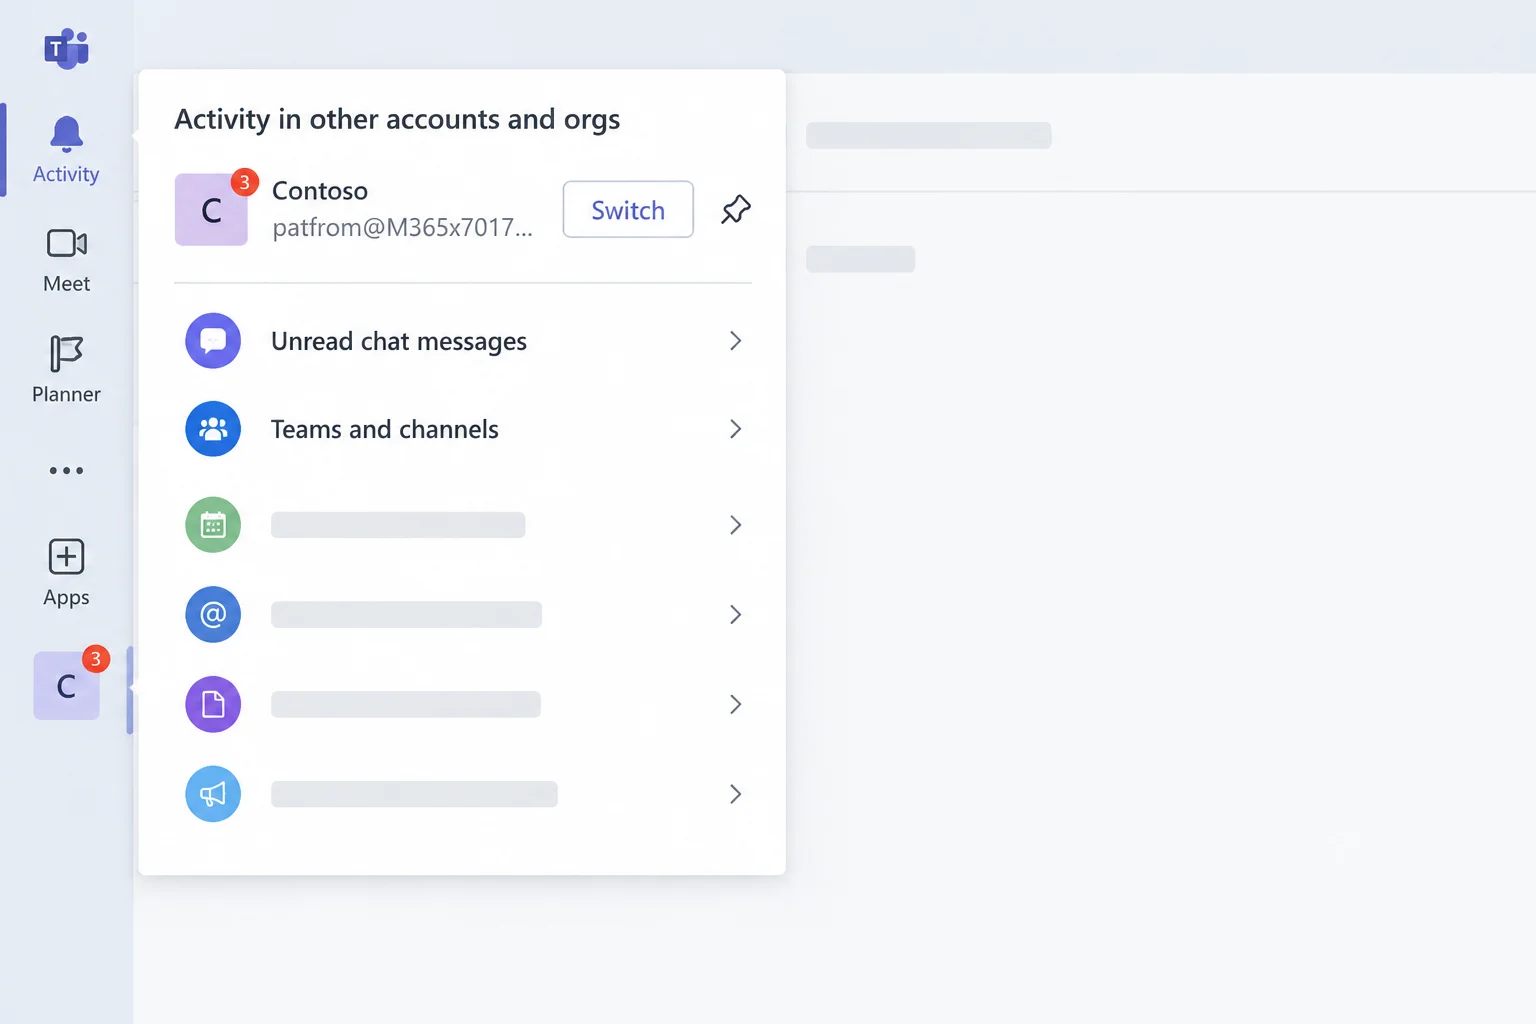
Step 3: Switch Accounts, Pin Items, and Manage Notifications
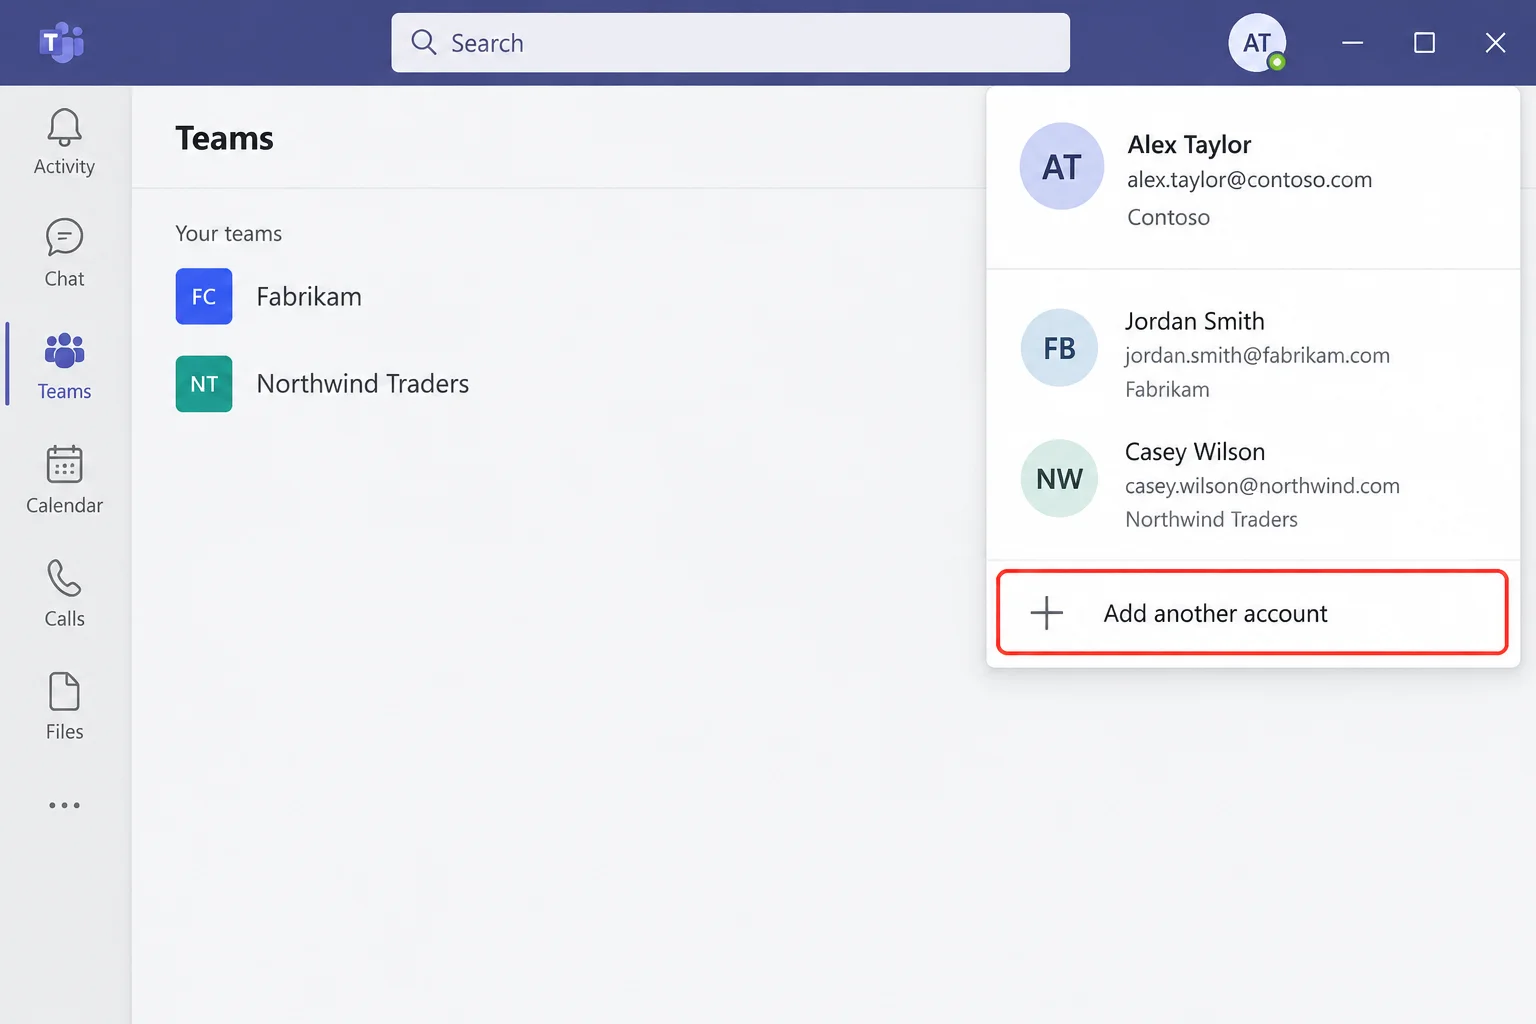
To change your primary viewing space, open the list of accounts and organizations under your profile picture and select the one you want to use. Your main Teams window reloads into that specific account, displaying its unique chats, teams, and calendar.
Remember that selecting an activity notification from another account opens that specific item in a separate window without altering your main window view. Furthermore, if you are handling guest invitations:
- Accept the guest invitation directly from the email sent by the organization.
- Look under the account that received the invitation; the guest organization usually populates automatically.
- If it fails to appear, check the invitation email for a direct sign-in or redemption link and follow those explicit steps instead.
To keep an active account visible directly in the Teams sidebar for one-click switching, hover over the account or organization you want to pin. You can pin up to three accounts to the sidebar, meaning you must unpin one before adding a fourth.
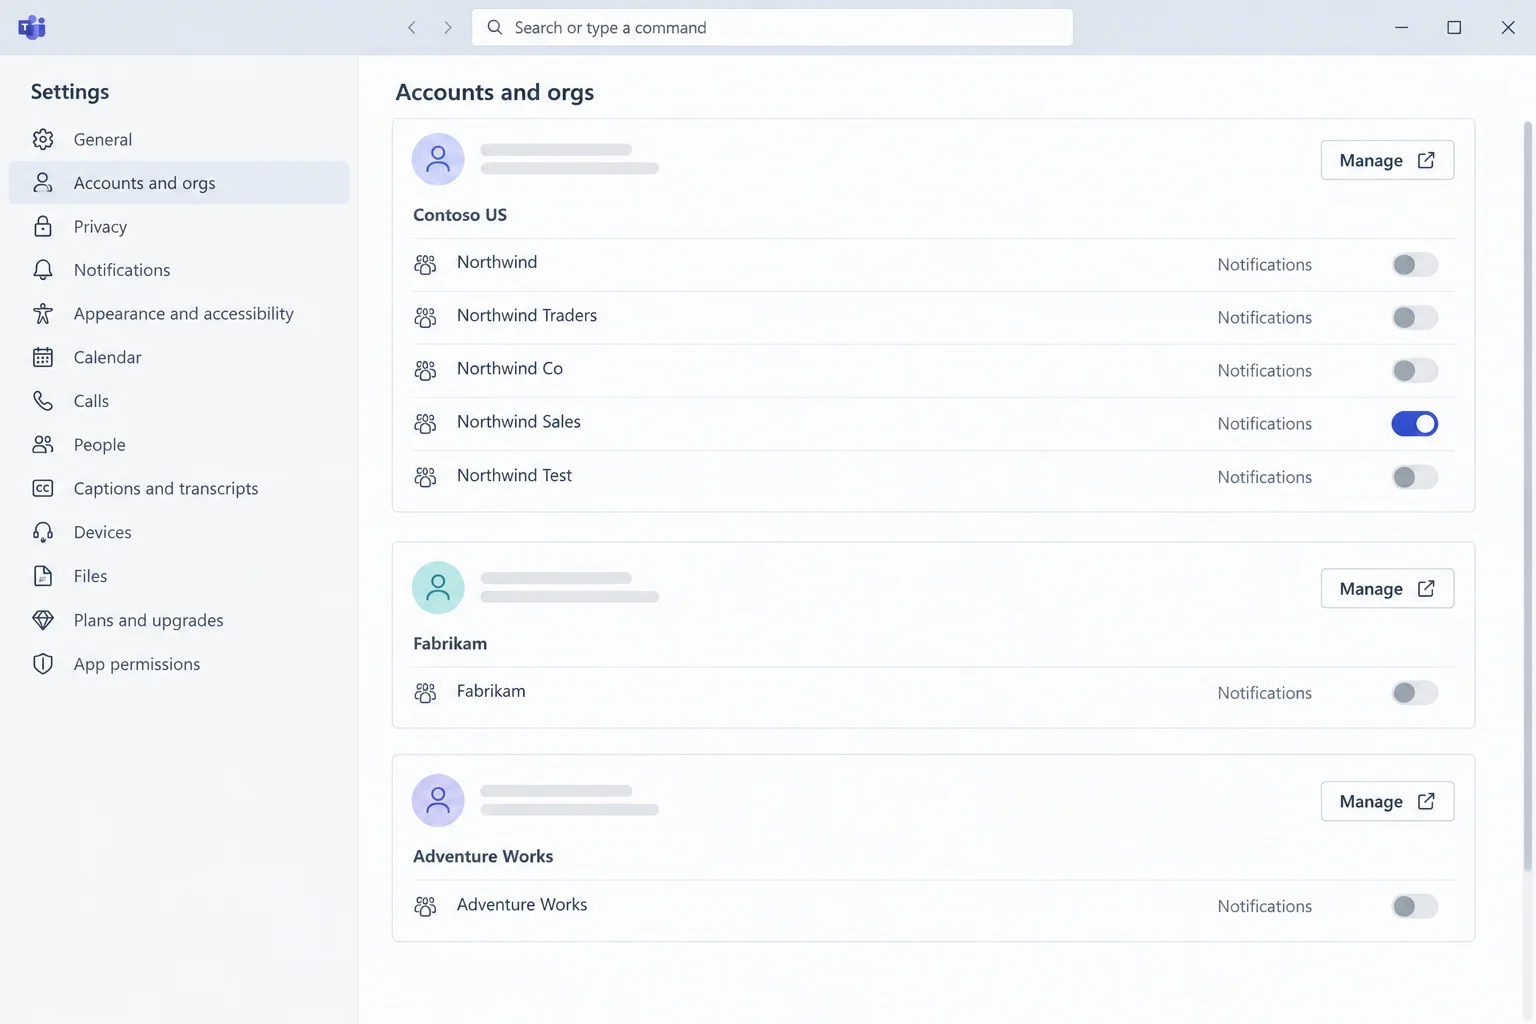
Finally, to control alerts, navigate to Settings and more (the three dots next to your profile picture), go to Settings, and select Accounts and orgs. Toggle notification settings on or off for each individual account depending on your preferences.
Troubleshooting Common Microsoft Teams Account Issues
Even with a streamlined design, technical snags can occasionally occur when managing multi-account environments. Here are targeted fixes for frequent user challenges:
Fix #1: Switch From the Profile Menu, Not a Notification
If you attempted to switch accounts by clicking a notification, but your main window still displays the old profile, close any extra windows that opened. Always select your profile picture in the main window or use the sidebar Switch button, as activity notifications are intentionally designed to open in standalone windows rather than altering your primary session.
Fix #2: Turn On Notifications for the Second Account
If you notice a complete lack of alerts from a personal account or guest organization, navigate to Settings and more (…) > Settings > Accounts and orgs. Because notifications are strictly controlled on a per-account basis, a single disabled toggle is frequently the root cause.
Fix #3: Accept the Guest Invite and Restart Teams
When an inviting organization fails to appear anywhere in your interface, search your email for the official invitation and ensure you accepted it properly. If a redemption link was included, use that specific link. Afterward, quit Teams completely—right-click the system tray icon on Windows or press Cmd + Q on macOS—and reopen the application to verify the organization.
Fix #4 & #5: Resolving Missing Options and Loading Freezes
If the Add another account option is entirely absent from your profile menu, confirm you are using the desktop application rather than a browser tab or mobile app. If your version is outdated, download the current software package directly from Microsoft. If Teams gets stuck loading or displays outdated information after adding profiles, quit the app completely, reopen it, and select each account once to force a refresh.
Fix #6: Addressing IT Department Policy Blocks
If a work or school account refuses to add or displays policy-based error messages, your organization’s IT administrator may restrict whether that account can operate on your specific device or run alongside other profiles. Send your IT department the exact error text to verify if multi-account sign-in is permitted for your corporate tenant.