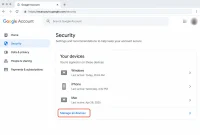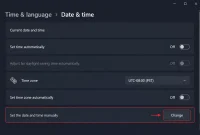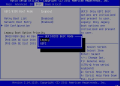

If your Windows 11 drive shows a warning icon and the status “Waiting for Activation” under BitLocker, your system is running in a suspended state. To clear this status safely, you must first back up your recovery key, and then finish the activation process depending on whether you are running Windows 11 Home or Windows 11 Pro, Enterprise, or Education.
This status does not mean your files are lost. However, a drive that stays in this state indefinitely points to an account, policy, Trusted Platform Module (TPM), or firmware issue. The drive is encrypted, but it currently relies solely on a temporary clear key, meaning full BitLocker protection remains inactive until Windows establishes a secure protector.
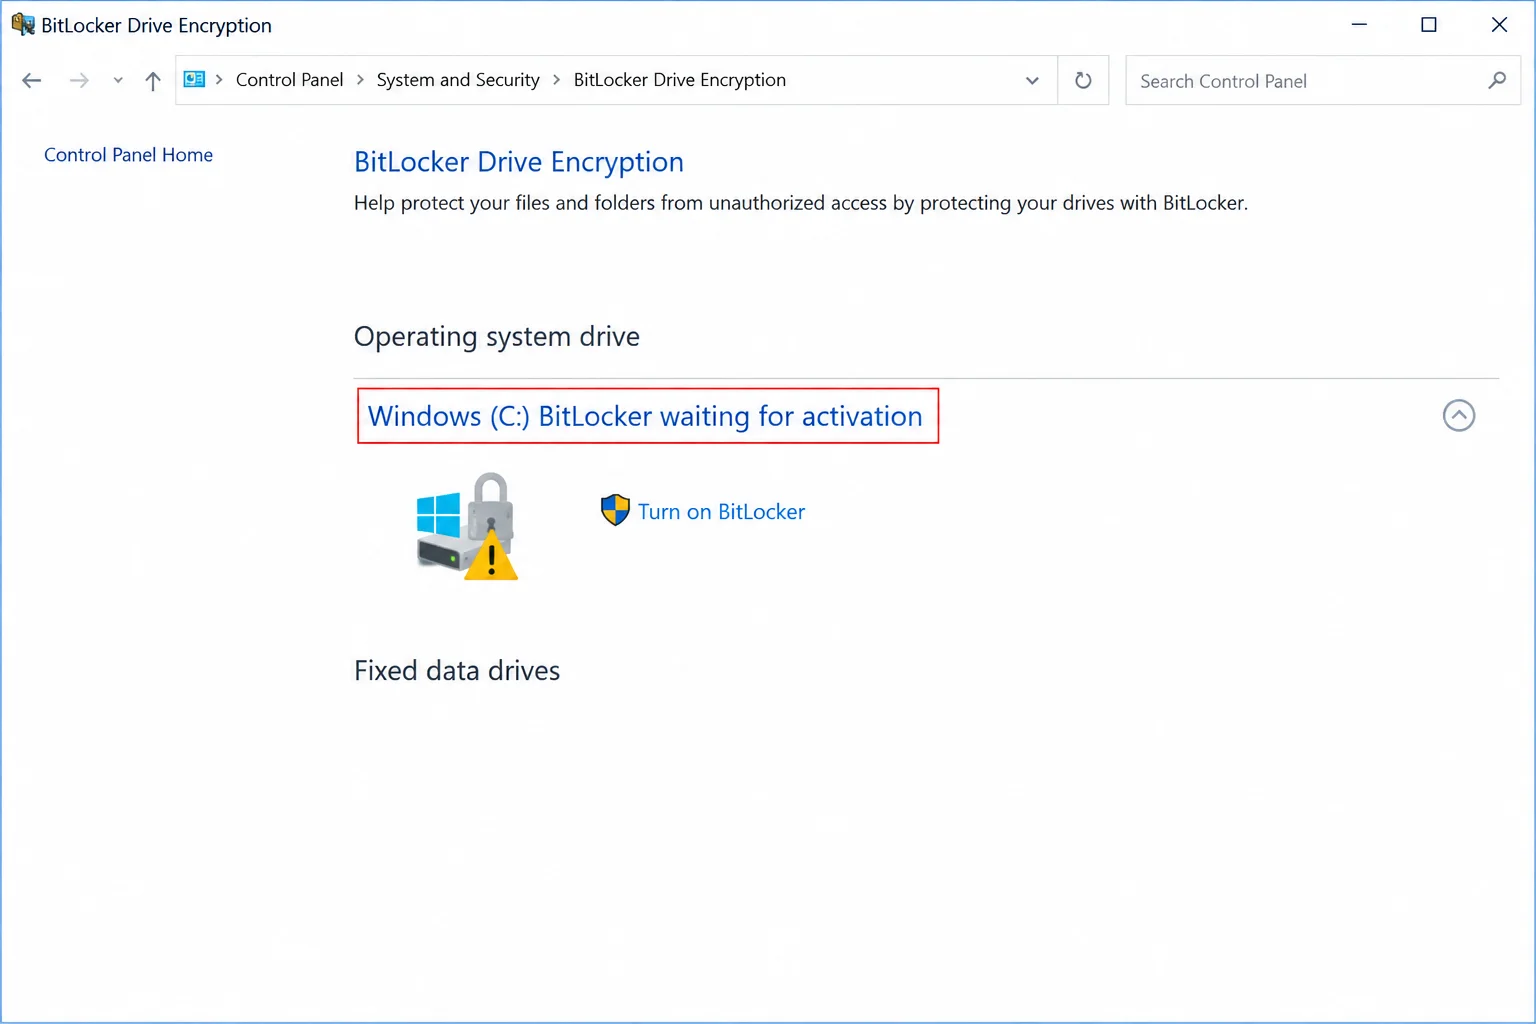
Understanding BitLocker “Waiting for Activation”
On many new PCs and clean Windows 11 installations, the operating system initiates device encryption automatically during setup. Microsoft classifies this as using a clear key: your data is scrambled, but the key is stored unprotected on the disk, effectively placing BitLocker in a suspended mode. Real protection only begins once Windows replaces that clear key with a secure hardware or account-bound protector.
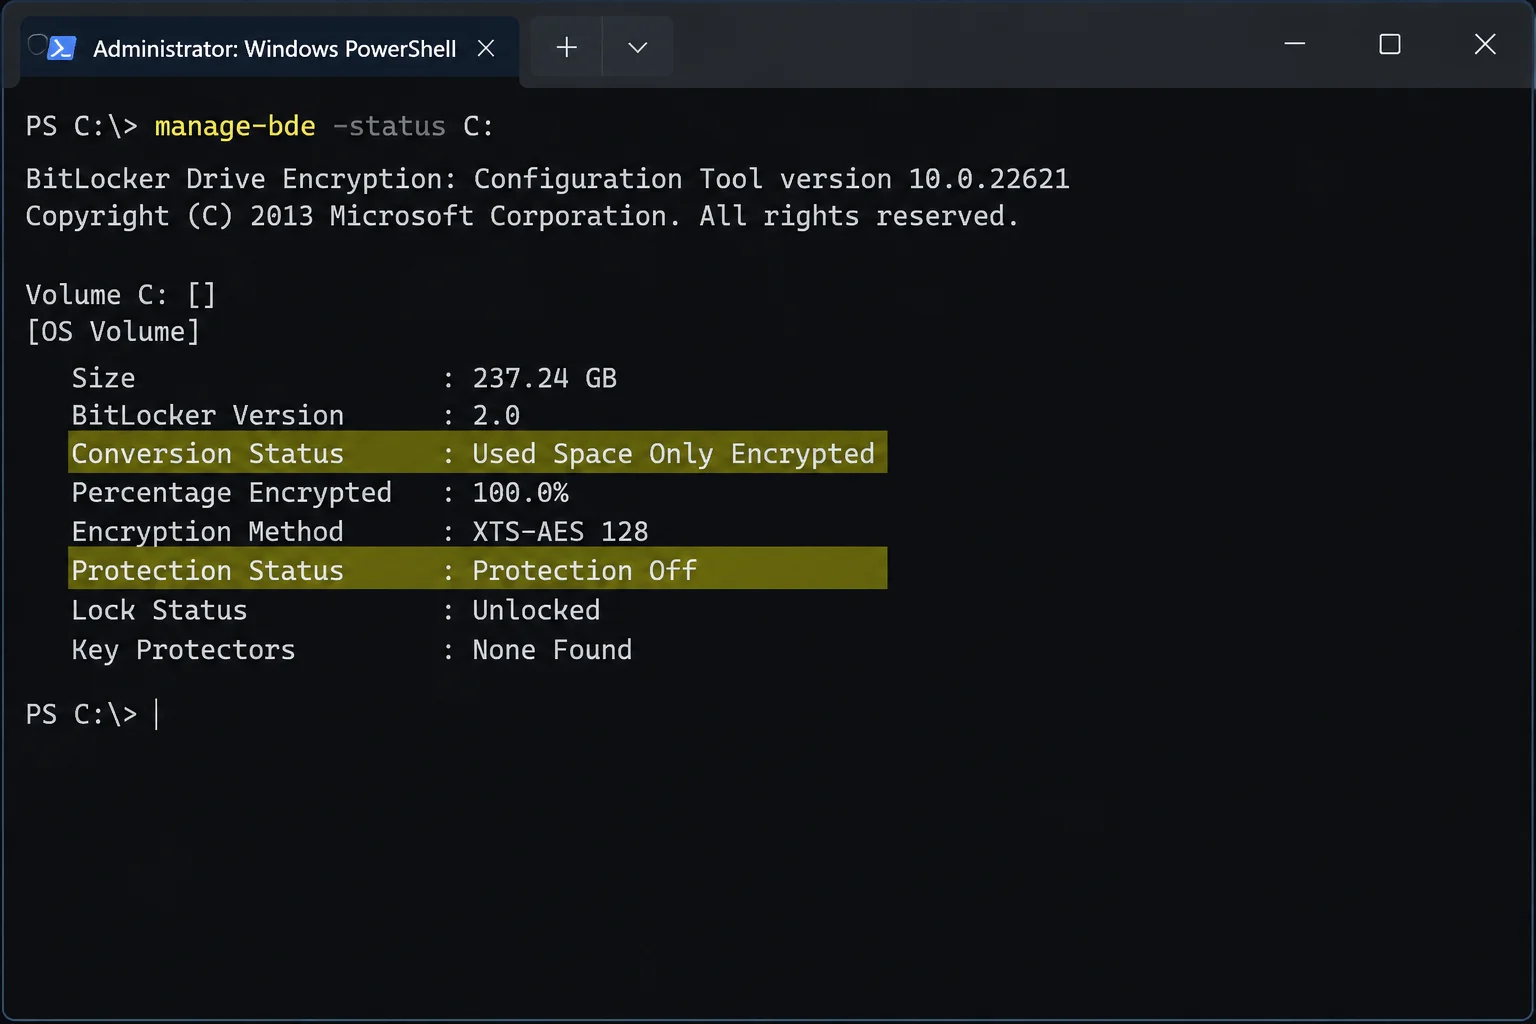
On personal computers meeting device encryption requirements, Windows completes this activation when an administrator signs in with a Microsoft account (or a work/school account on organizational devices). Windows then removes the clear key, uploads a recovery key to that account, and creates a TPM protector. For work or school PCs, organizational policy determines where the key is archived, typically within Microsoft Entra ID or Active Directory.
Is your data at risk? Your files remain safe and readable while you use your PC. However, until activation finishes, protection is disabled, leaving your data exposed if someone physically removes the drive. This security exposure is why Windows flags the drive with a warning icon.
Step 1: Back Up and Verify Your Recovery Key First
Always perform this step before modifying any BitLocker settings. A missing recovery key is the primary cause of permanent device lockouts. Even though device encryption usually uploads a key to your Microsoft account automatically, you must verify access before making changes.
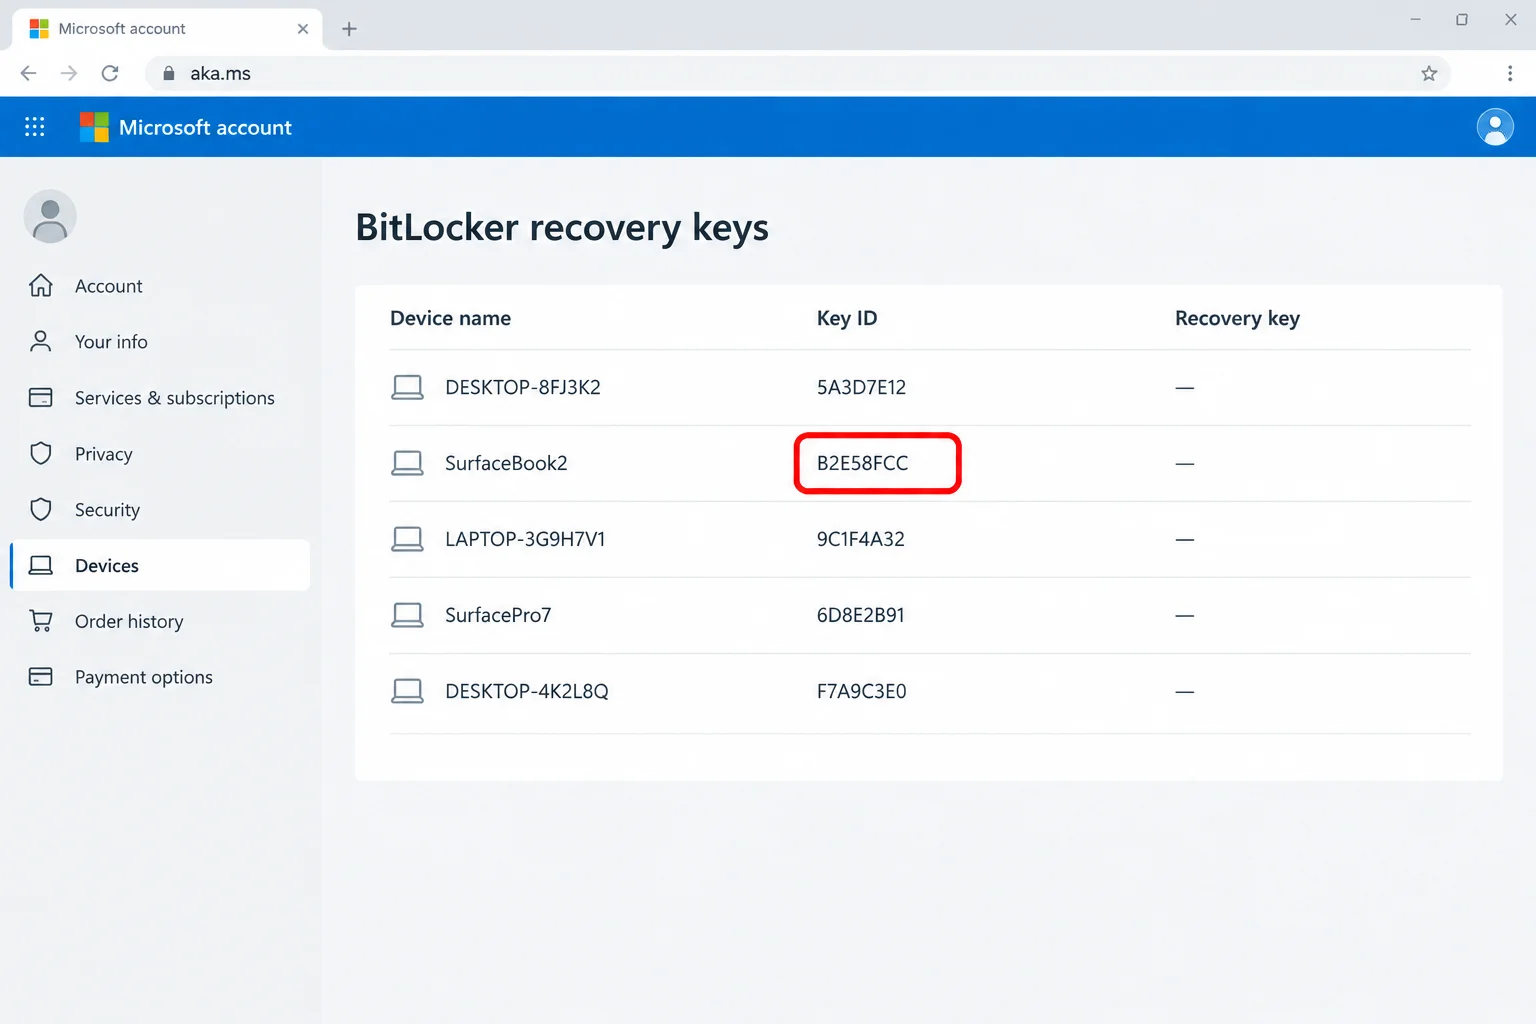
- Go to https://aka.ms/myrecoverykey on another device or via a browser on your current PC.
- Sign in using the personal Microsoft account linked to your computer.
- Locate the entry matching your PC name and compare the Key ID on the screen with the ID displayed for your drive. The first eight characters must match.
- For work or school devices, check https://aka.ms/aadrecoverykey.
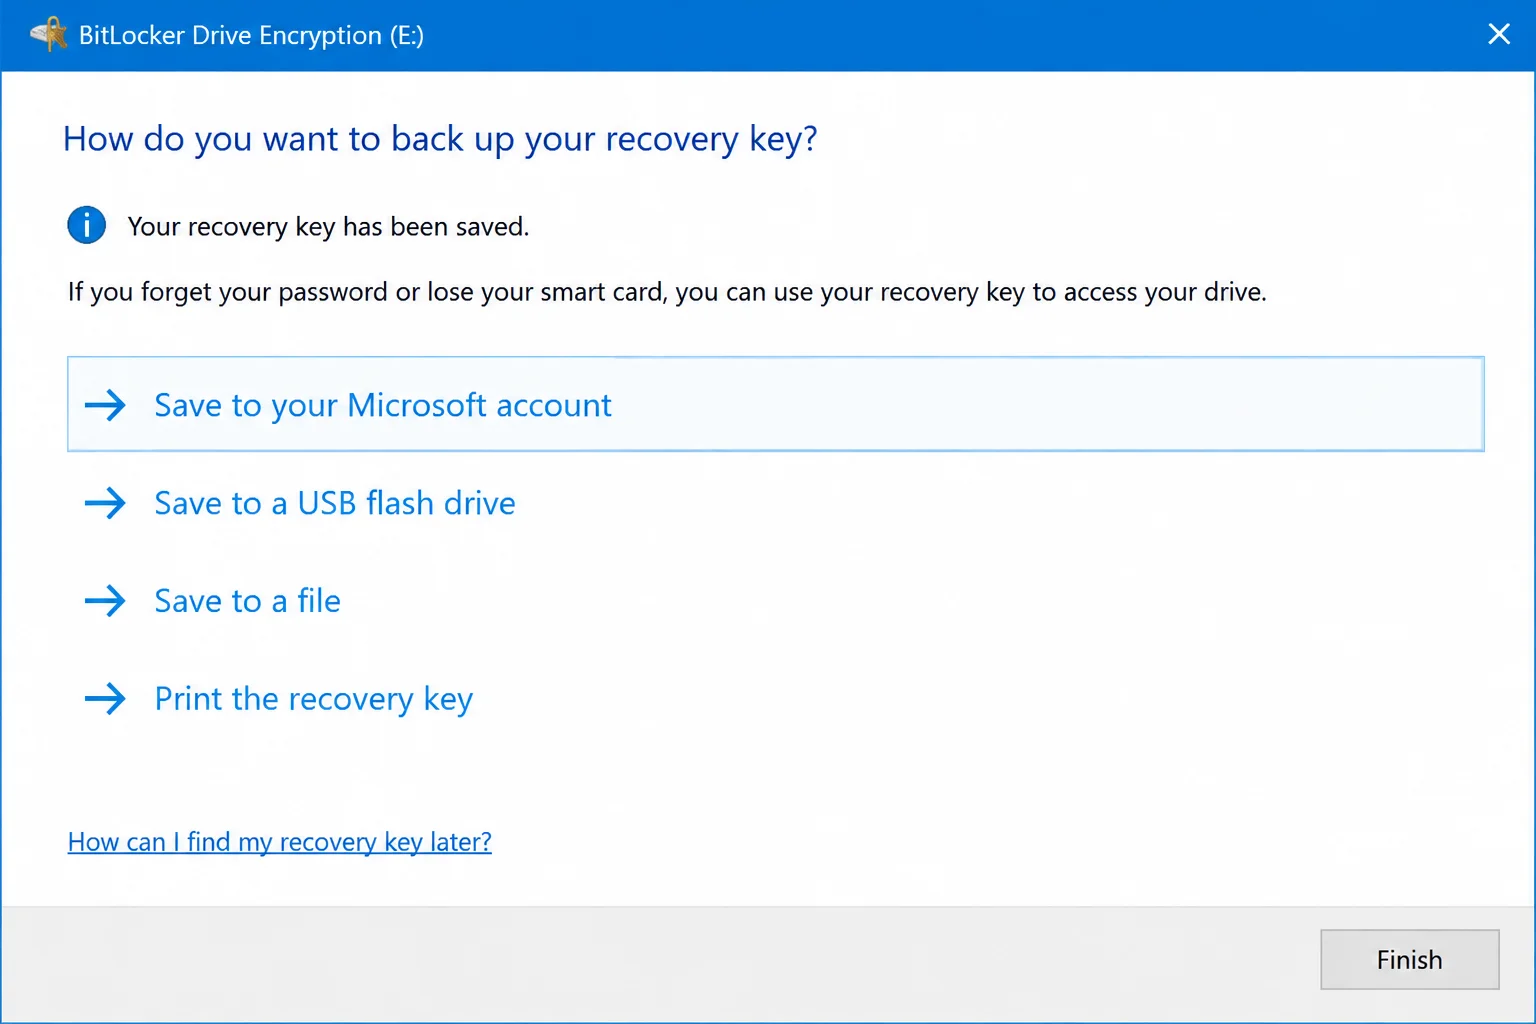
- If Windows prompts you to back up your recovery key in Control Panel or Settings, choose an alternative offline destination such as a USB flash drive, a printed copy, or a secure password manager like Bitwarden or 1Password.
Step 2: Finish Activation Based on Your Windows Edition
The resolution path varies depending on your operating system edition. Check your system specifications to see whether you are running Windows 11 Home or a professional edition.
Finishing Activation on Windows 11 Home
Windows 11 Home handles encryption through the Settings app and relies on personal Microsoft accounts rather than local accounts.
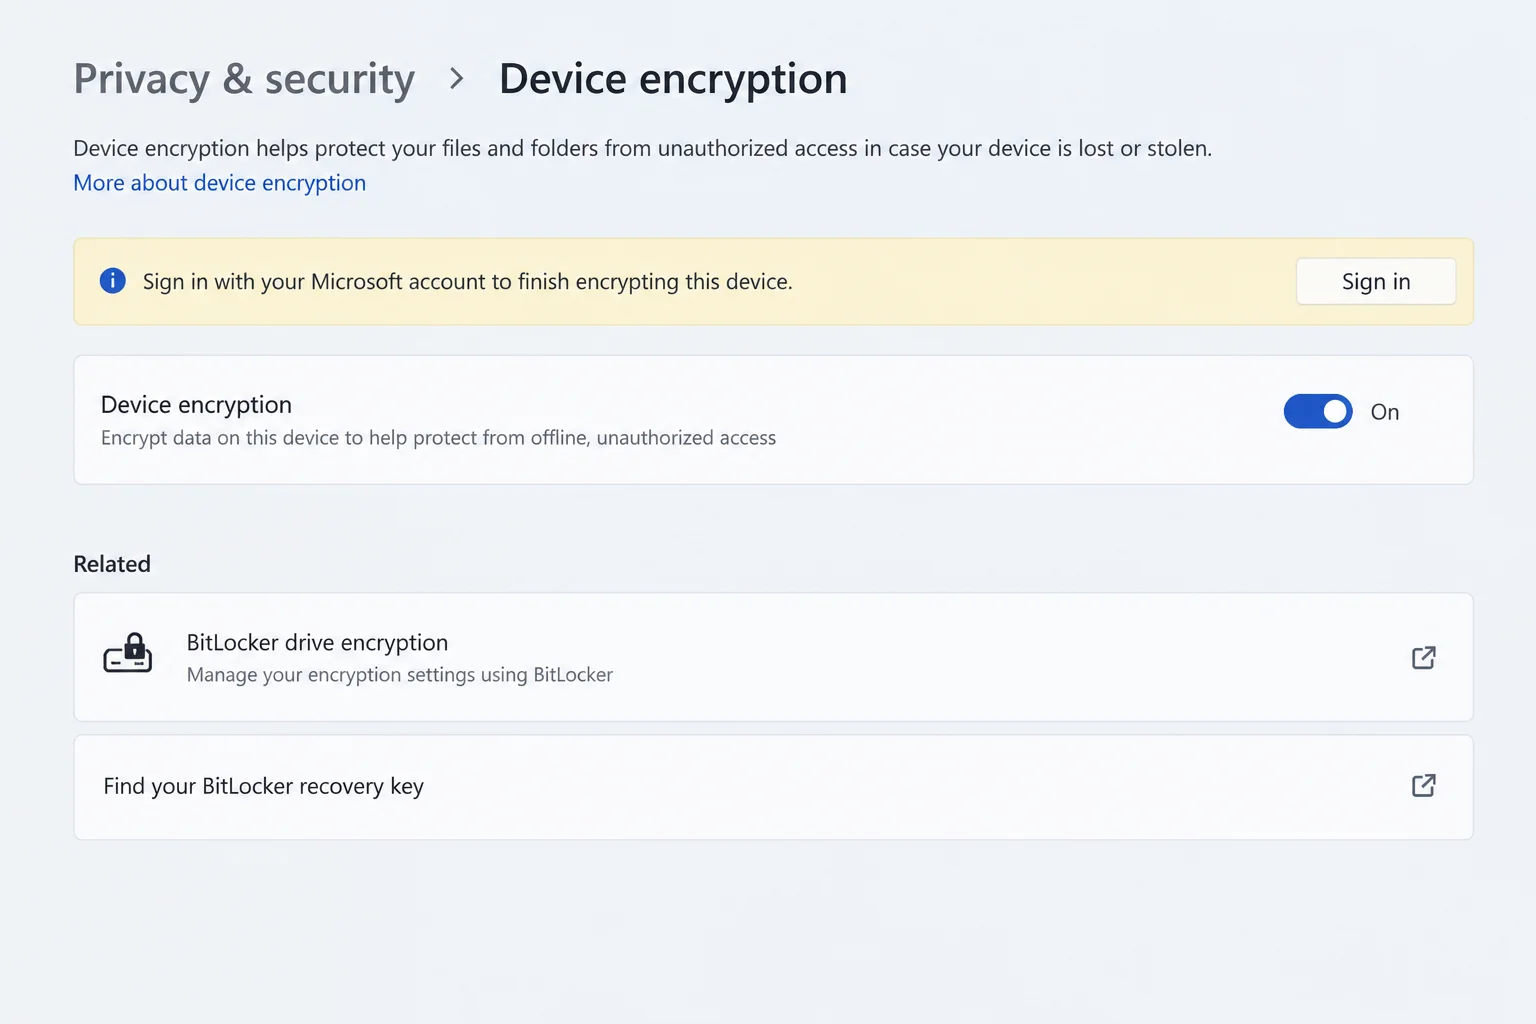
- Open Settings > Privacy & security > Device encryption.
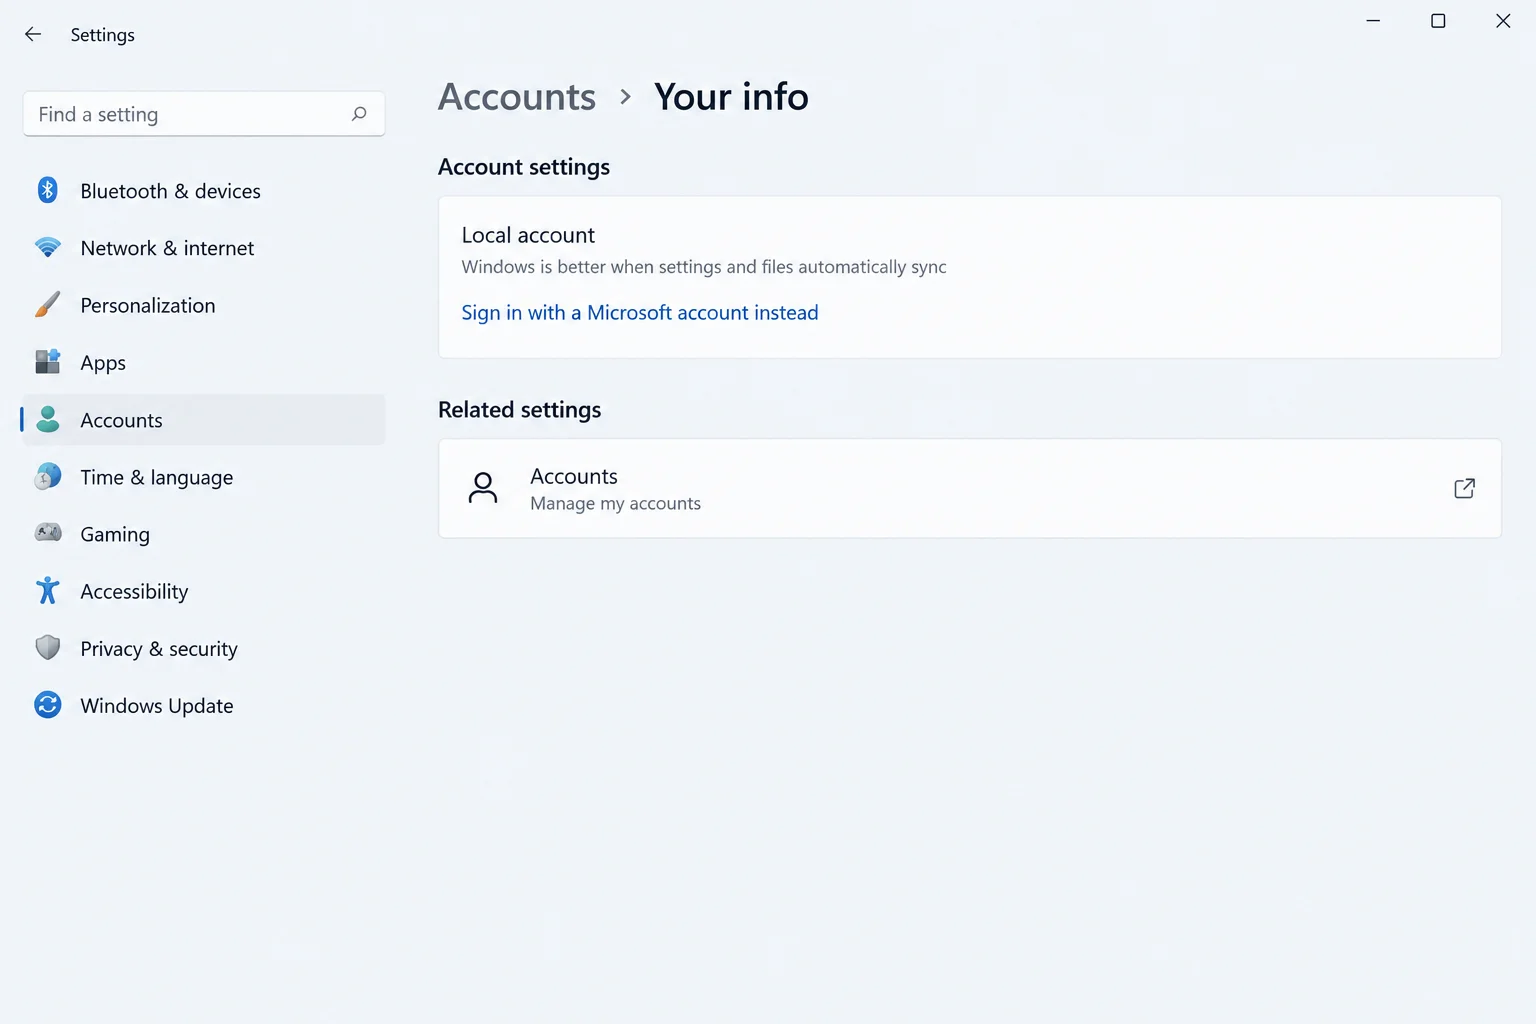
- Check your account status. If the computer uses only a local account, the setup cannot finalize automatically because local accounts do not trigger cloud key uploads.
- If you see an option to Sign in with a Microsoft account instead, select it, complete the prompt using an administrator account, and restart your PC.
- Confirm your recovery key appears correctly at the online recovery portal.
- Return to the Device encryption page in Settings and turn the toggle on if it is currently disabled. Windows will remove the clear key and apply a secure protector.
Finishing Activation on Windows 11 Pro, Enterprise, or Education
Professional editions provide advanced tools via Control Panel and command-line interfaces for manual intervention.
- Select Start, type
BitLocker, and open Manage BitLocker. - Expand the C: drive and look for options to resume, turn on, or finish BitLocker protection.
- If no intuitive wizard option is available, right-click Start and choose Terminal (Admin).
- Run
manage-bde -protectors -get C:to review existing protectors. If a numerical password protector exists, verify its 48-digit key matches your backup. If no numerical password is listed, generate one by runningmanage-bde -protectors -add -recoverypassword C:and save the resulting key offline. - If the TPM protector is missing, add it by running
manage-bde -protectors -add C: -tpm. Do not add a duplicate TPM protector if one is already present. - Verify the fix by running
manage-bde -statusto confirm protection is active.
Step 3: Troubleshooting Missing Options and Hardware Issues
If the device encryption menu is missing or grayed out, underlying hardware or permission configurations are typically responsible.
- Open the Start menu, type
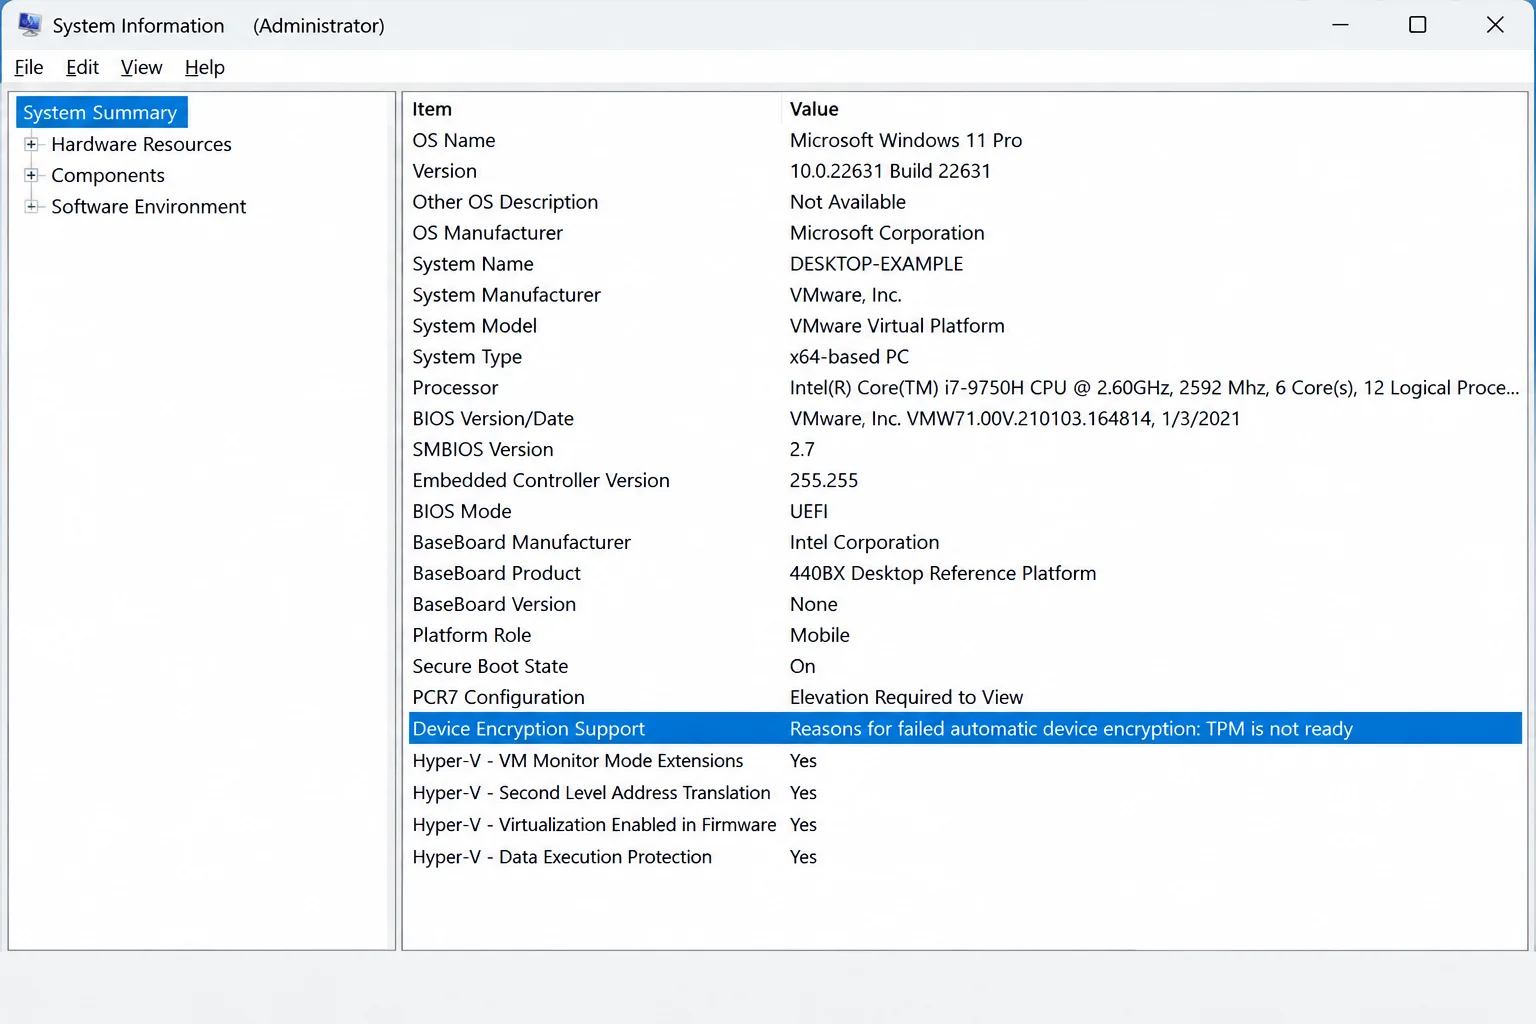
System Information, right-click the app, and select Run as administrator. - Scroll down in the System Summary to find Device Encryption Support.
- If the status does not read “Meets prerequisites,” note the specific reason given, such as an unusable TPM, unconfigured Windows Recovery Environment (WinRE), or unsupported Secure Boot/PCR7 binding.
- Check your firmware if a TPM or Secure Boot error is reported. Open Settings > Privacy & security > Windows Security > Device security > Security processor details to verify the TPM is ready. Enable TPM and Secure Boot in your motherboard’s BIOS/UEFI settings if disabled.
- Disconnect unnecessary docks, USB hubs, and external peripherals at startup, as connected hardware can occasionally disrupt PCR7 configuration checks. Restart your system and recheck device encryption support.
Alternative: How to Turn Off Encryption Safely
If you prefer not to use device encryption—such as on a stationary desktop computer that never leaves your home—you can turn the feature off entirely.
Before proceeding, verify that your recovery key is safely documented just in case. On Windows 11 Home, navigate to Settings > Privacy & security > Device encryption and switch the toggle to Off. On Windows 11 Pro, Enterprise, or Education, open Manage BitLocker from Control Panel and select Turn off BitLocker next to the target drive.
Allow decryption to finish completely. Large drives take time to decrypt; keep laptops plugged into power and avoid unexpected shutdowns or holding down the power button, which can disrupt the decryption process. Confirm complete decryption using the command line tool manage-bde -status.
Common Pitfalls and Best Practices
Keep these essential guidelines in mind to maintain system security and prevent access issues:
- Avoid local account traps on Home: Running Windows 11 Home with purely local accounts leaves drives unprotected in a clear-key state. Sign in with an admin Microsoft account to finalize setup.
- Never store your sole recovery key on the encrypted drive: If you lose access to your operating system, you will be unable to read a key saved inside that same drive. Always keep offline printouts, USB backups, or cloud copies.
- Understand drive scope: Device encryption covers internal fixed system drives, not removable USB flash drives or external drives. Use BitLocker To Go on Pro editions to secure external storage.
- Keep security hardware enabled: Leave Secure Boot and your TPM turned on in firmware. Disabling them breaks encryption eligibility.
- Maintain dual backups: Keep one recovery key copy linked to your Microsoft account and another offline on a USB drive or printout. Recheck your key records following major system changes, resets, or account swaps.