
A unexpected “Did you just sign in?” alert, a lost phone, or a laptop you sold last month all raise the same critical question: which devices are signed in to your Google Account right now? Knowing how to check your active sessions lets you audit your digital footprint, remove unauthorized access remotely, and secure your personal data.
Remote Sign-Out vs. Device Erasing: Understanding the Difference
Before managing your active sessions, it is vital to understand the boundary between revoking account access and wiping physical hardware. Signing out remotely terminates your Google Account’s access from a specific device or browser session, but it does not wipe, factory reset, or erase the hardware itself.
For lost Android phones and tablets, Google provides a separate tool called Find My Device, which can ring, lock, or erase the device. However, Find My Device is built exclusively for Android and does not support lost Chromebooks, Windows PCs, Mac computers, or Linux systems. For a lost computer of those types, Google’s official guidance is to sign it out from your active device list if it appears there, and then immediately change your Google Account password.
| Tool / Action | Primary Function | Supported Hardware |
|---|---|---|
| Manage All Devices | Remotely revokes Google Account session access | Any device or browser that has accessed your account (Windows, Mac, Linux, Chromebooks, phones, tablets) |
| Find My Device | Can ring, lock, or factory reset physical hardware | Android phones and tablets only |
Prerequisites for Checking Your Account
Checking your signed-in devices requires very little preparation, but observing basic security precautions ensures your audit remains safe:
- Your active Google Account email and password (the account is free, and nothing needs to be installed).
- A modern web browser such as Chrome, Edge, Firefox, or Safari.
- A rough mental inventory of the devices you own, such as your phone, work laptop, tablet, and smart TV, which makes unfamiliar devices much easier to spot.
- A trusted computer or device. If you suspect someone has unauthorized access to your account, avoid performing a security check from a shared or public PC.
Step-by-Step: How to View and Manage Signed-In Devices
You can review and control your active sessions directly through your account dashboard by following these chronological steps:
- Open your web browser and go to
myaccount.google.com. If you are already inside Gmail, you can also click your profile picture in the top-right corner and select Manage your Google Account (some screens label this Edit Google Account). - On a mobile phone, open the URL in your mobile browser, tap Security & sign-in, and navigate to the device management section.
- In the left-hand navigation menu of the Google Account home page, click Security (some accounts label this Security & sign-in; both lead to the exact same location).
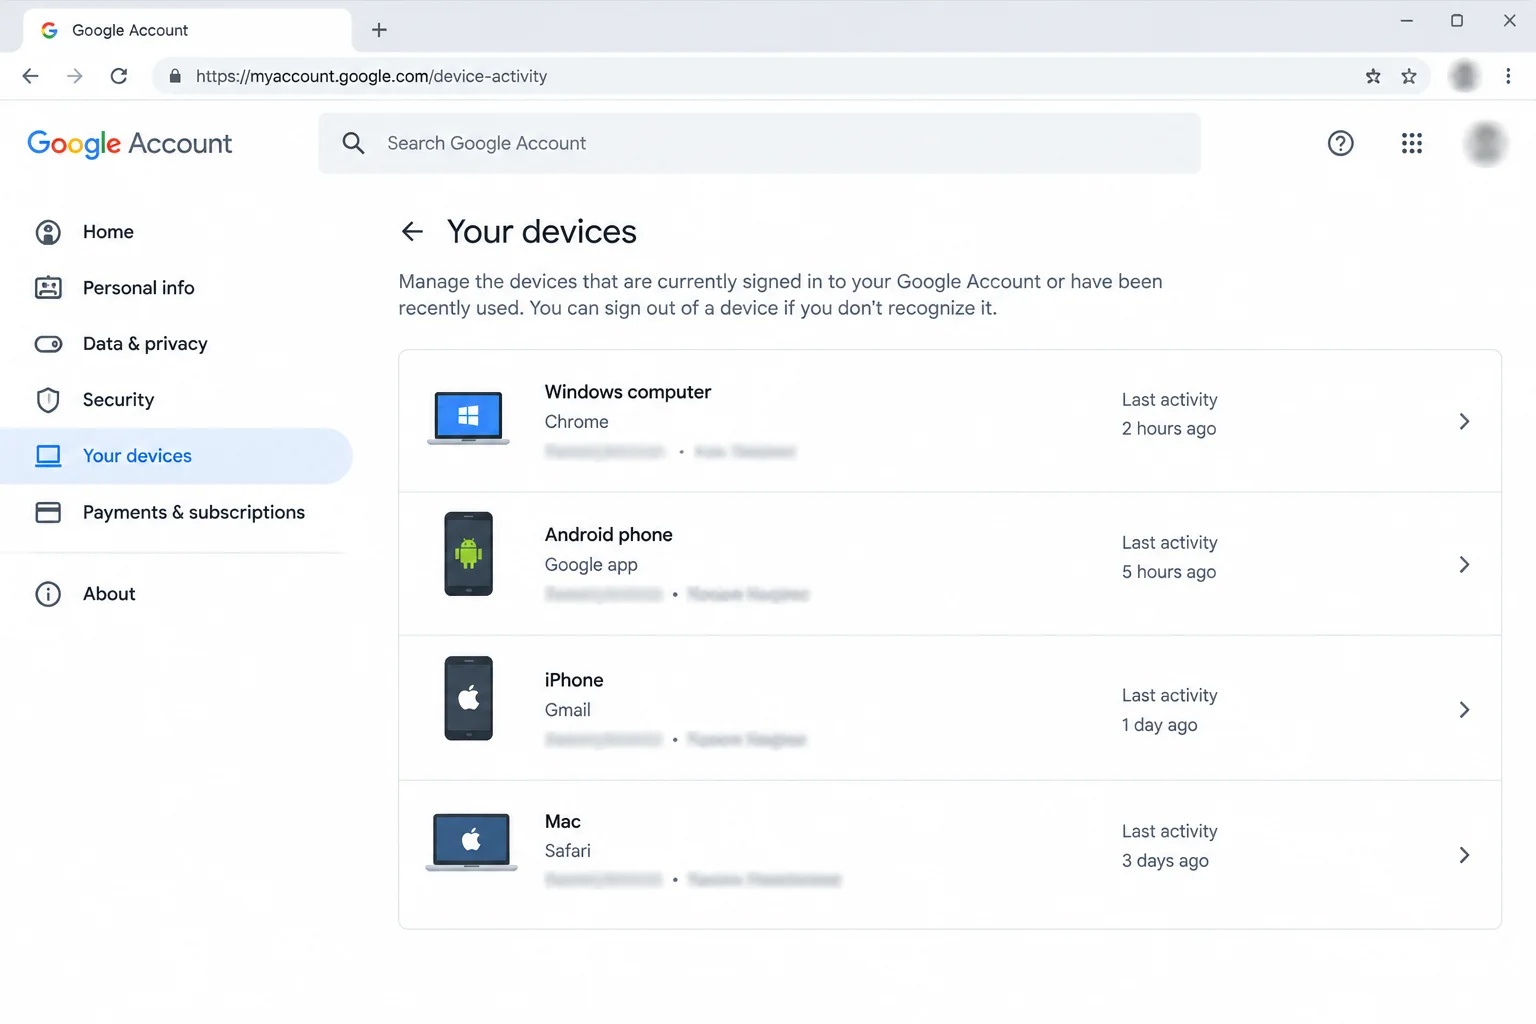
- Scroll down until you find the Your devices panel, which displays a short summary of hardware currently accessing your data.
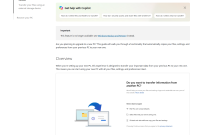
- Click Manage all devices to view every device and browser session that has signed in currently or within the last few weeks.
Evaluating Device Details: Hardware, Location, and Activity
When reviewing the list of active entries, do not panic if the total number is longer than expected. Google frequently logs separate sessions for the same physical device—one for a web browser, another for a dedicated mobile app, and so on. A single phone can easily generate two or three separate entries.
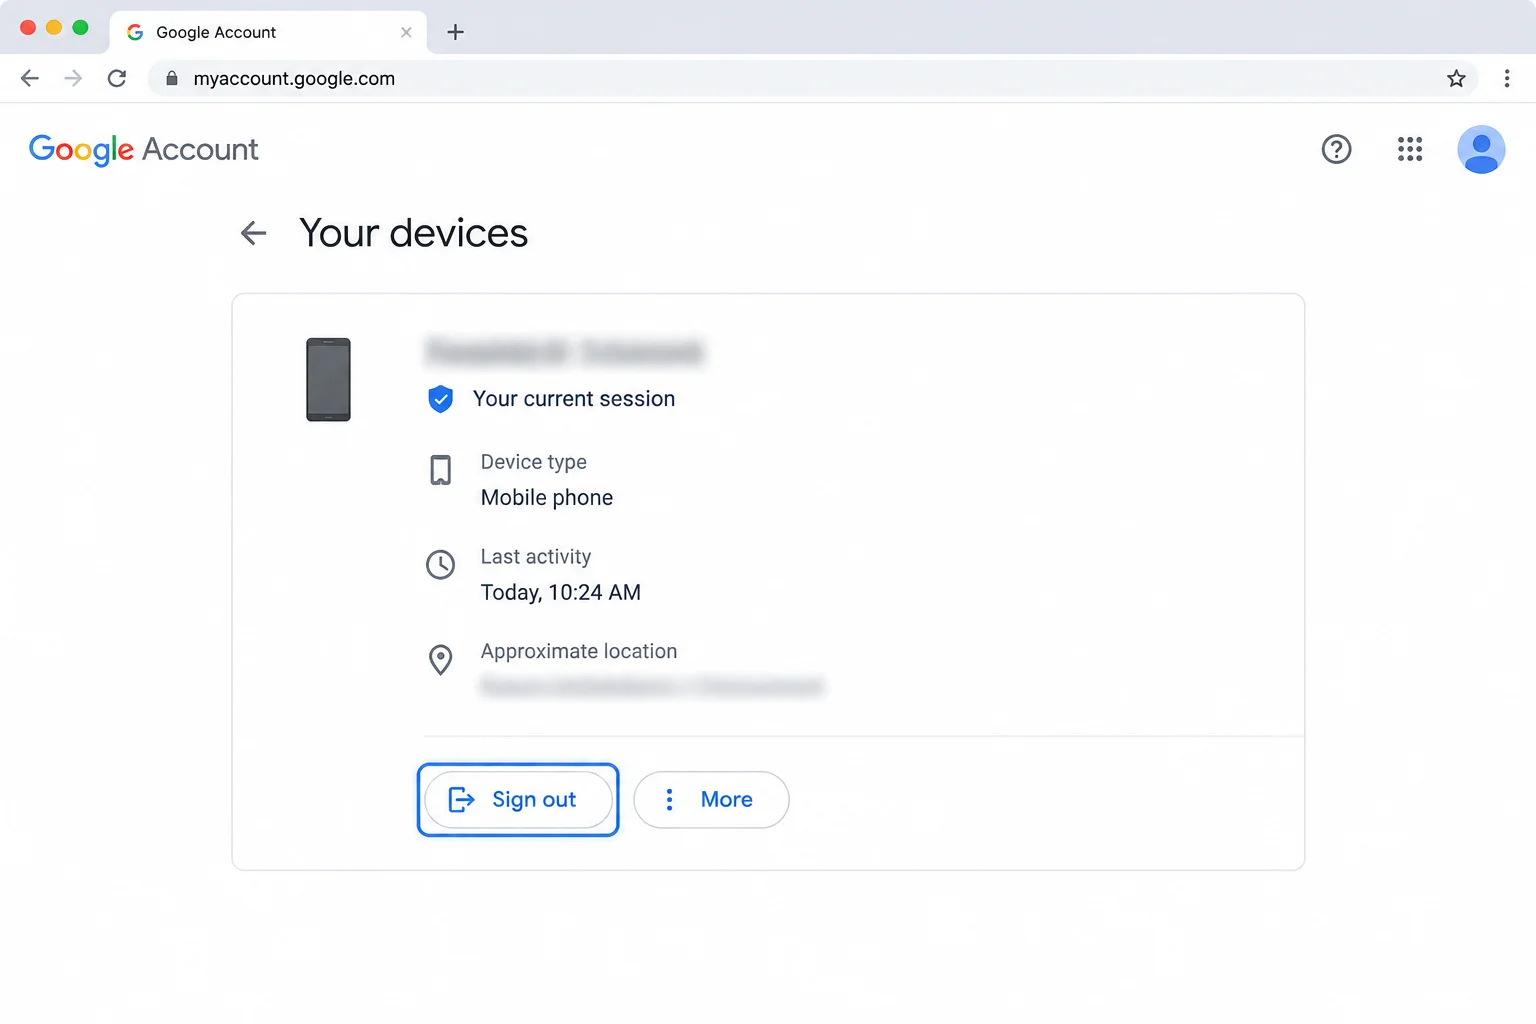
To determine whether an entry is legitimate, assess its specific attributes carefully:
- Device type and name: Look for recognizable hardware models, operating systems like Windows or Android, and specific web browsers.
- Location: This reflects the last city Google associated with that device or session. Treat it as general context rather than an exact geographical pinpoint; an unfamiliar city on its own does not automatically prove a security breach.
- Last activity time: This timestamp records the last time that device or session contacted Google. Keep in mind that background syncing counts as activity, meaning the time can look much more recent than when you physically touched the device.
Judge each entry primarily by whether you recognize the hardware. A familiar phone showing a slightly odd location is usually benign, whereas an unknown Windows PC or an unfamiliar phone model warrants immediate action.
Signing Out Unrecognized Entries and Duplicate Sessions
If you spot an active connection that you do not recognize, or if you need to clean up obsolete hardware, you can revoke access in a few clicks:
- Click on the unrecognized device’s detail view to expand its information.
- Click Sign out. That device or session will instantly lose access to your Google Account.
- Note that the entry may remain visible in your list marked with a Signed out label. This is completely normal and indicates that while historical data remains visible for a short window, the device has no active access.
- Check for duplicate sessions on the same device. Signing out one session does not automatically sign out other sessions on that same physical machine. If an unknown laptop shows up three times, make sure to sign out all three entries.
What to Do If You Spot an Unknown Device
If you sign out a device that you truly do not recognize, you must assume that an unauthorized party managed to obtain your password. Google’s official guidance for unfamiliar activity is to secure your account immediately by executing a thorough remediation protocol:
- Change your password: On the Security page, locate the sign-in section and click Password. Re-enter your current password if prompted, and create a robust, unique password. Using a password manager such as Bitwarden or 1Password makes it easy to generate secure credentials that you never reuse across different websites.
- Turn on 2-Step Verification or passkeys: On the same Security page, click 2-Step Verification and follow the prompts to add a second sign-in step, such as a phone prompt, SMS code, or hardware security key (like a YubiKey or Google Titan Security Key). Check whether passkeys are supported for your account and add one to your daily devices. With 2-Step Verification enabled, a stolen password alone is no longer enough to break into your account.
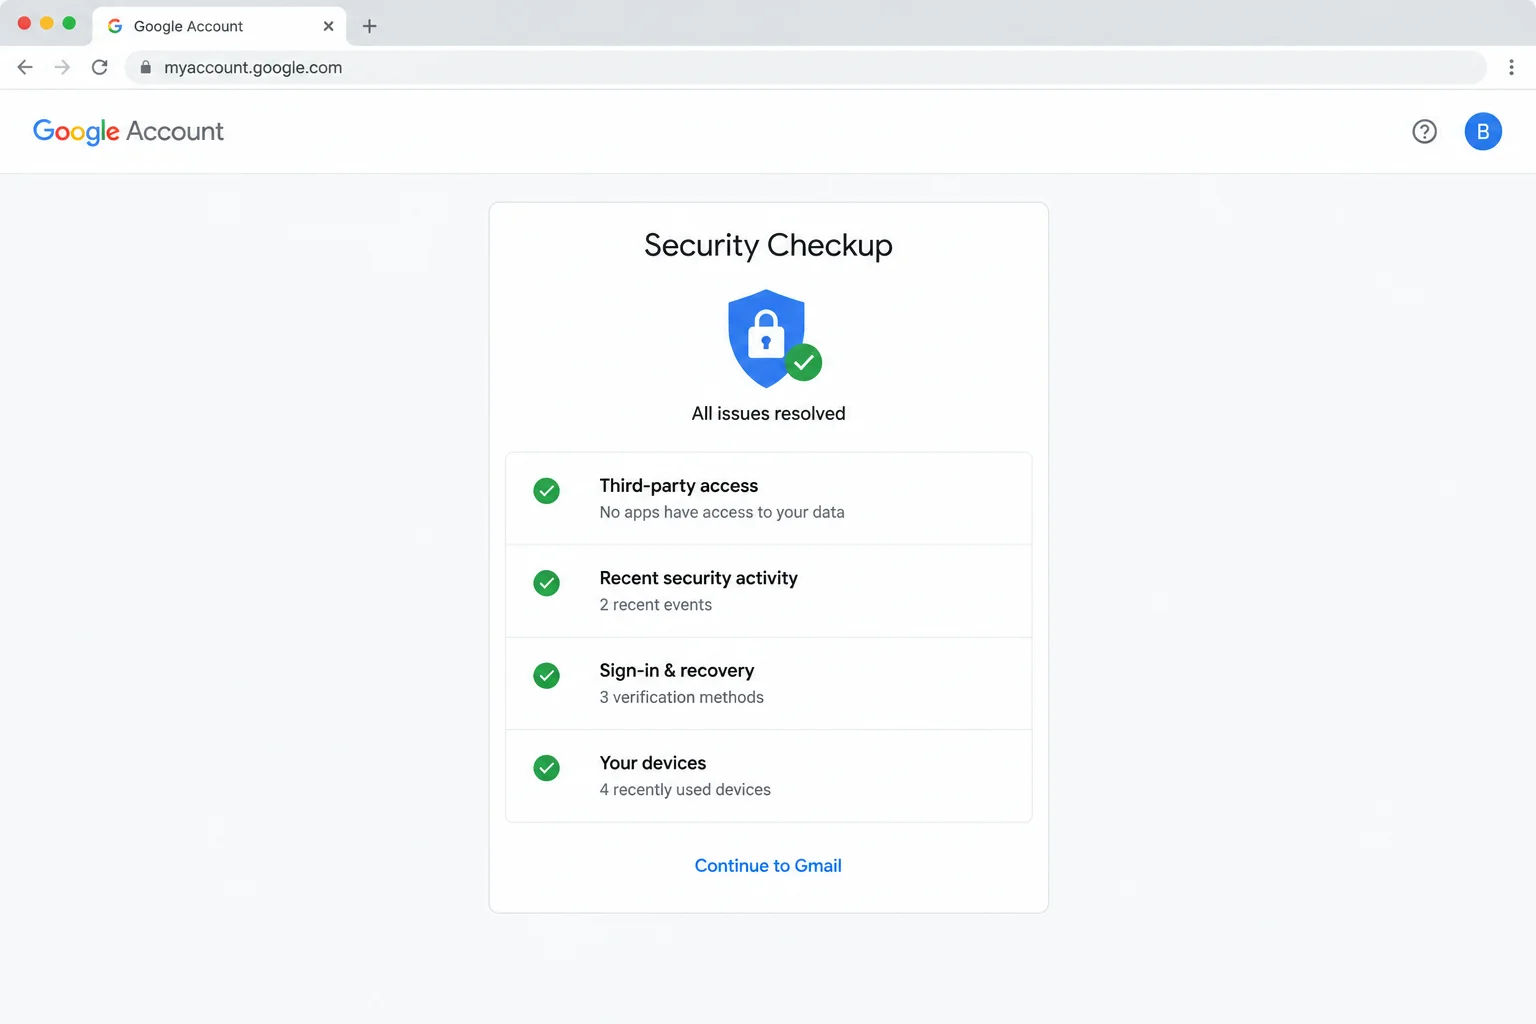
- Run Security Checkup: Work through each section recommended by the built-in Security Checkup tool. Fix any vulnerabilities it flags, such as an outdated recovery phone number or lingering old devices, until the tool shows no outstanding issues.
Handling Notifications and Special Scenarios
Account security often involves reacting to real-time prompts or managing hardware exceptions outside standard web navigation:
When you receive a “Did you just sign in?” notification on an Android device already tied to your account, assess the activity immediately. If it was you utilizing a new laptop or a reinstalled browser, confirm the alert. However, if you do not recognize the activity, tap No, it’s not me. Google notes that this action signs your account out across all other devices, not just the one named in the alert. Following that, change your password and run a full Security Checkup.
Removing your Google account from a phone you still physically hold works differently than desktop management, because Gmail on mobile does not feature a simple desktop-style “Sign out” button. To remove the account from a phone in your possession, access the device’s system account settings. If you no longer have physical custody of the phone, sign it out remotely via the Manage all devices menu in any browser.
Troubleshooting Common Google Device List Discrepancies
Users auditing their Google Account frequently encounter confusing dashboard symptoms. You can resolve these common discrepancies using the following troubleshooting guidance:
- Symptom: The same phone or laptop appears multiple times.
Why it happens: Google logs separate sessions for different browsers, apps, or services operating on the same hardware.
Fix: This behavior is expected. If the device belongs to you, leave the entries alone. If the device is unfamiliar, sign out of every single entry associated with it. - Symptom: An unfamiliar city or location is displayed.
Why it happens: Location data reflects the last city Google associated with that IP session, which can occasionally be outdated or imprecise.
Fix: Do not treat location as definitive proof of a break-in. Prioritize checking the device type and activity timestamp. If you still cannot confirm ownership, sign the device out. - Symptom: The last activity time is more recent than your last actual use.
Why it happens: Automated background syncing counts as valid account activity.
Fix: Treat the timestamp as an approximate indicator. Focus primarily on whether you recognize the physical hardware. - Symptom: Signed-out devices refuse to disappear from the list.
Why it happens: Google retains historical entries for a short grace period, marking them as Signed out instead of immediately deleting them.
Fix: Verify that the entry carries the Signed out label, which guarantees it has no active access. Older entries will automatically drop off once they fall outside Google’s recent window of the last few weeks. - Symptom: A specific computer is missing from the list.
Why it happens: You may be logged into a different Google Account, or the device may never have signed in to a Google application.
Fix: Click your profile picture to confirm which account profile you are viewing. For a missing Windows, Mac, or Linux machine, sign it out from the device manager if listed, and immediately change your password.
For most users, a quick look at the device management dashboard quickly settles any security concerns. The extra entries almost always turn out to be duplicate sessions from personal hardware or old items already marked as inactive. If you sign out an unknown device and it reappears after you have changed your password, someone may still possess your credentials, or malware on one of your personal computers could be capturing your keystrokes. In such extreme cases, run a comprehensive computer malware scan and ensure 2-Step Verification is strictly enforced.